Setting up free business email on your domain with Zoho Mail
1smart.link hosts your website, but it does not host email mailboxes. For an address such as info@yourdomain.com, you use your own email provider. Zoho Mail has a free plan that suits a small business. This guide takes you from finding that plan to reading your email.
The numbers in the pictures match the numbered steps.
Note: You need a domain you own, access to the company where you bought it (your domain company), and a mobile phone for a one-time code. Keep your domain company's DNS page open in another tab.
What the free plan includes
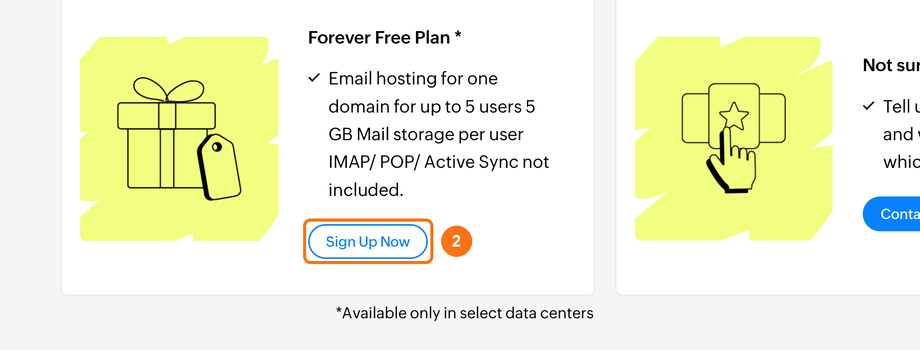
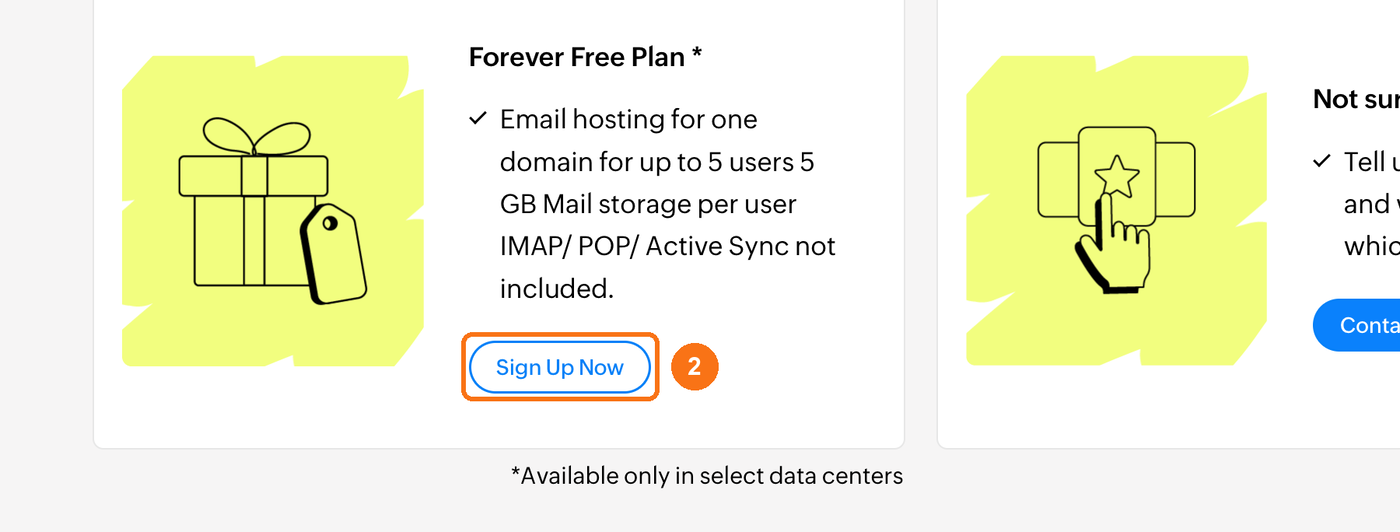
Zoho calls it the Forever Free Plan. On Zoho's pricing page it reads:
Email hosting for one domain, for up to 5 users.
5 GB of mail storage per user.
IMAP, POP and Active Sync are not included.
Available only in select data centres.
Because IMAP and POP are not included, you read your email on Zoho's website and in Zoho's own mobile app, not in other email programs. Zoho can change its plans, so check Zoho's pricing page for the latest details.
Find the free plan
Zoho's pricing page shows the paid plans first. The free plan is further down, which is why it is easy to miss.
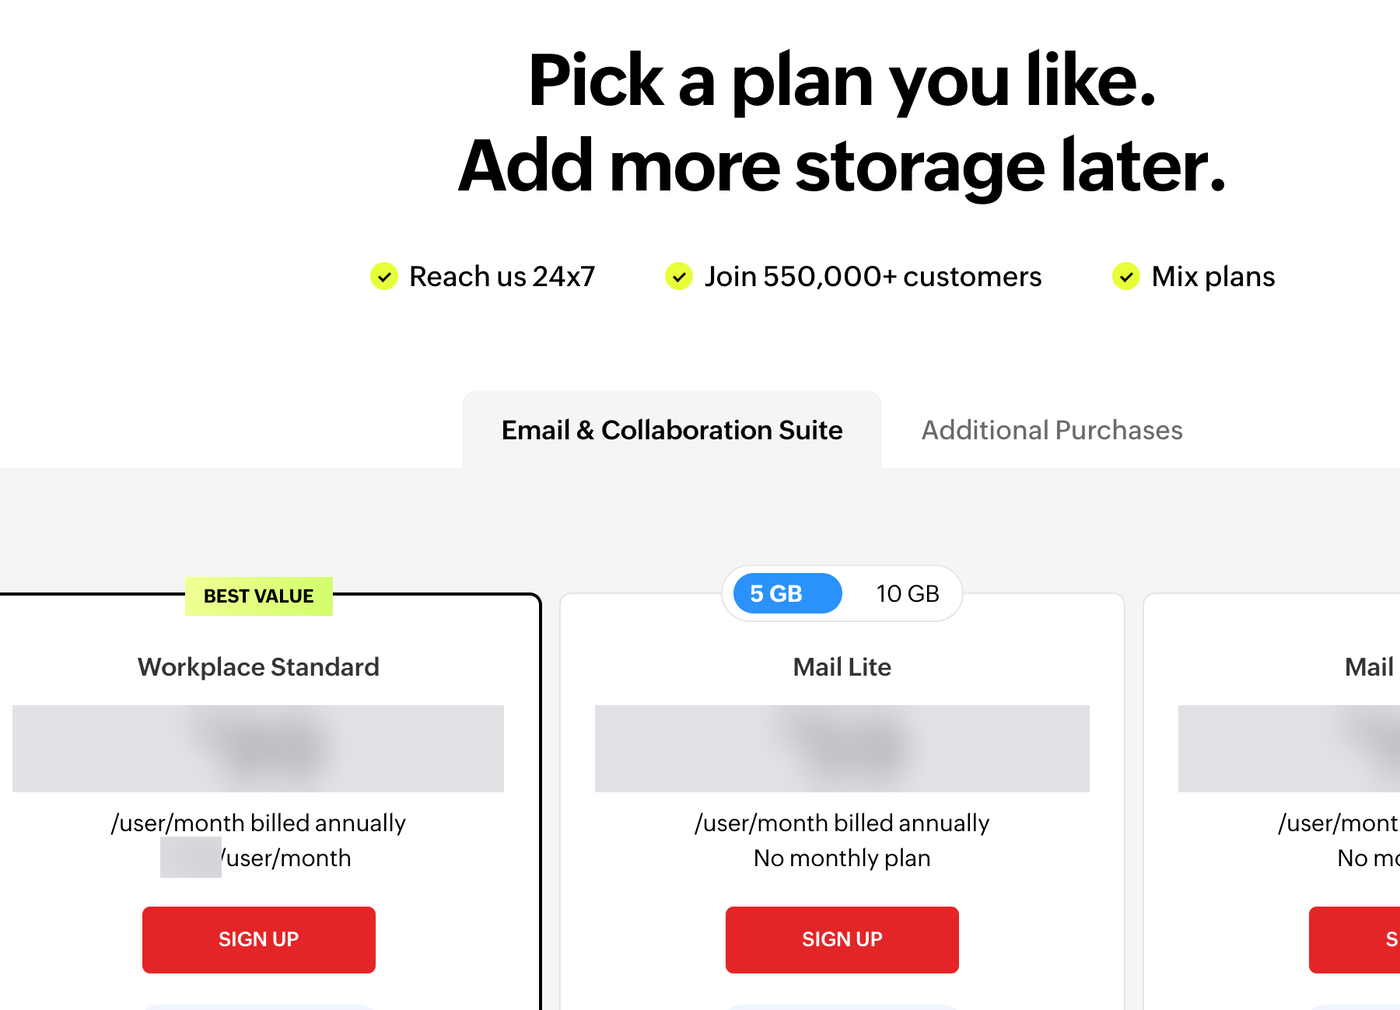
Open Zoho Mail's pricing page. The paid plans fill the top of the page. Do not sign up for any of these.
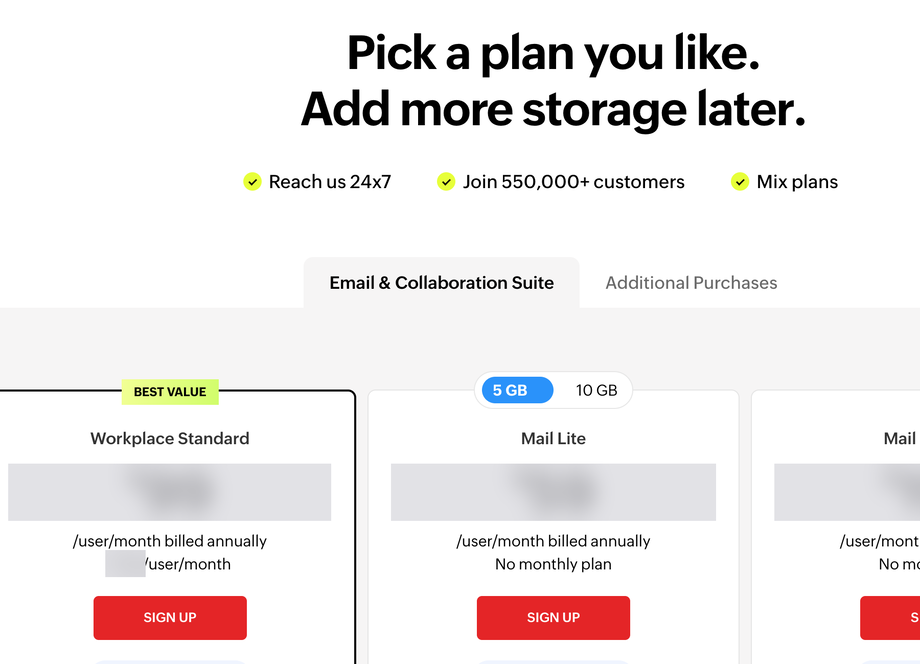
Scroll down past the paid plans, past "Take it for a spin" and past "Mix-and-match plans". Find the box called Forever Free Plan and click Sign Up Now.
Tip: If a box pops up asking "Looking for something in particular?", close it with the X in its corner.
Sign up
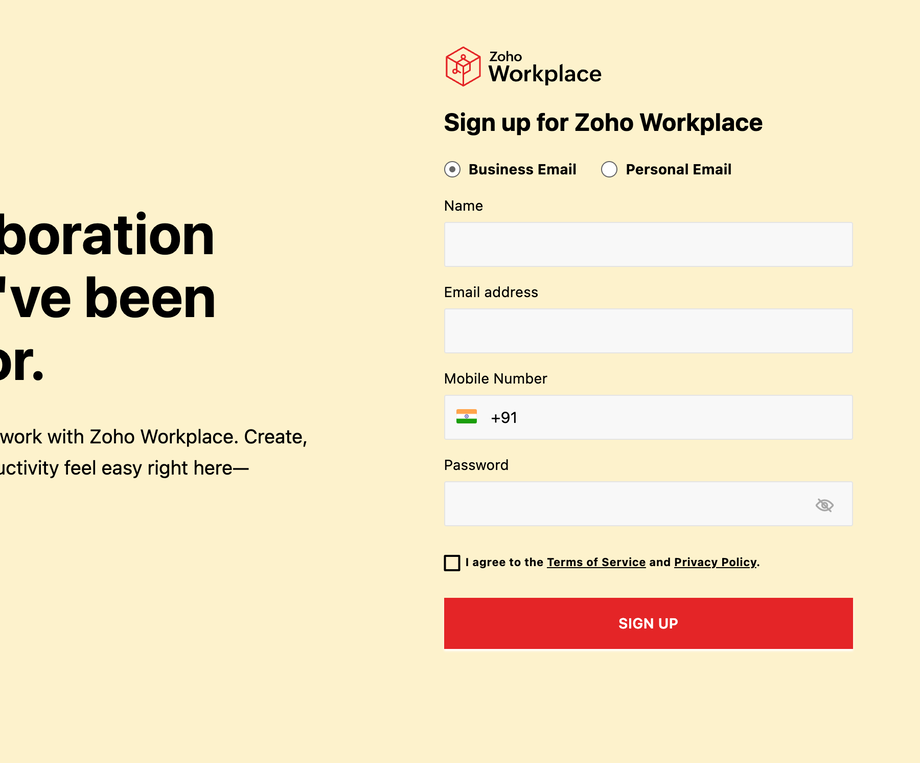
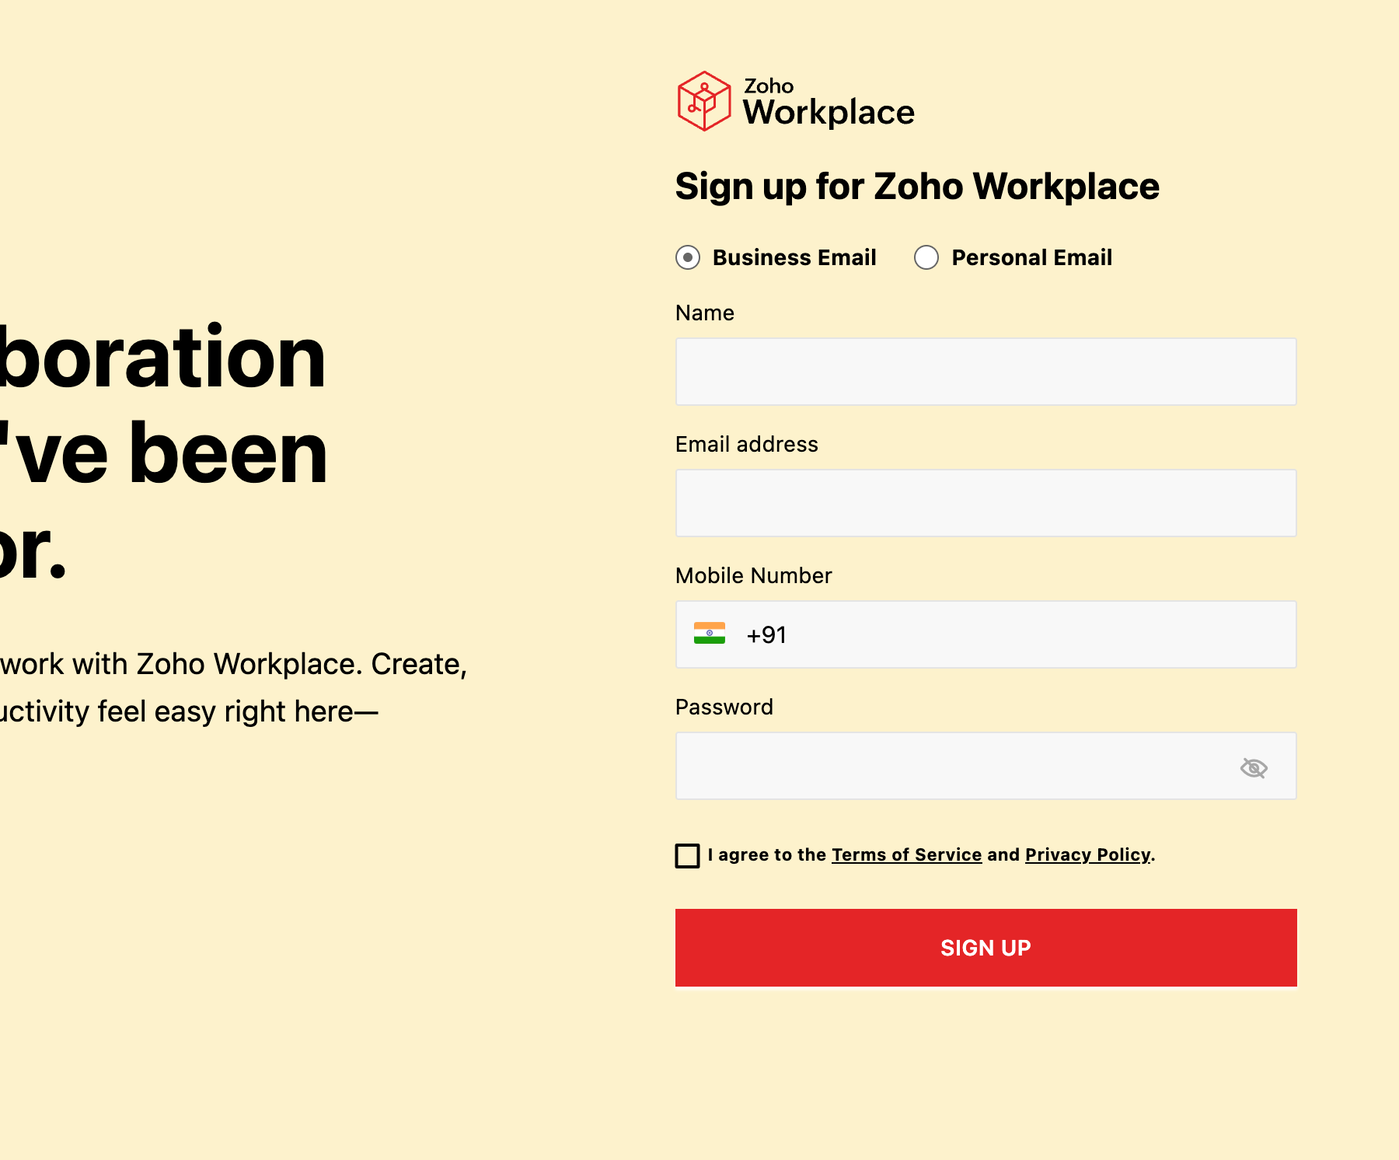
Fill in the form: your name, an email address you can receive mail at, your mobile number and a password. Tick the box to agree to the terms, then click Sign Up.
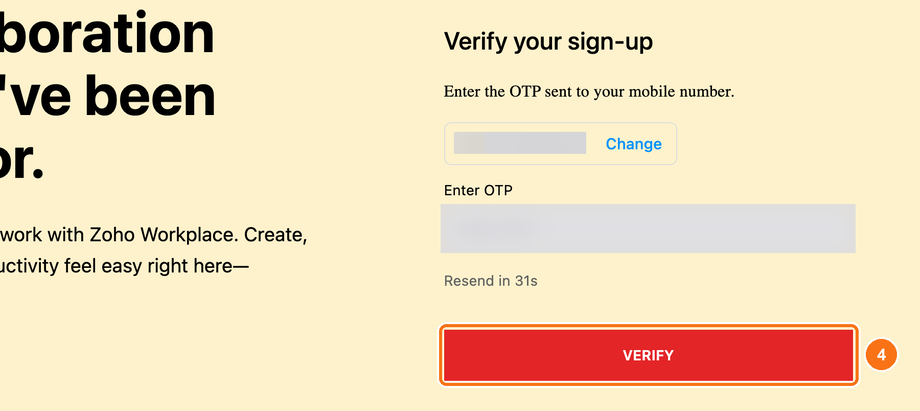
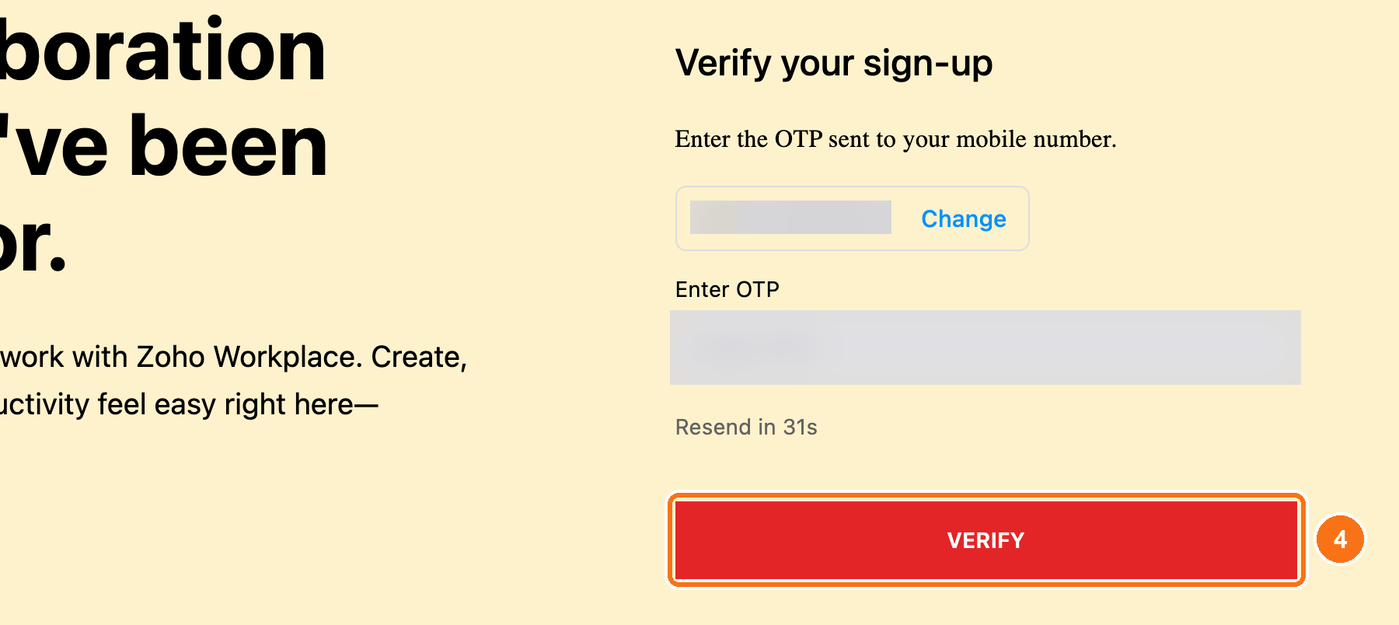
Zoho sends a one-time code to your mobile. Type it into Enter OTP and click Verify.
Tip: Fill in the form and click Sign Up in one go. If the page sits open for a long time, Zoho says "Session expired". If that happens, refresh the page and fill it in again.
Note: If Zoho says an account already exists for your email address, use a different address for this sign-up.
Add your domain
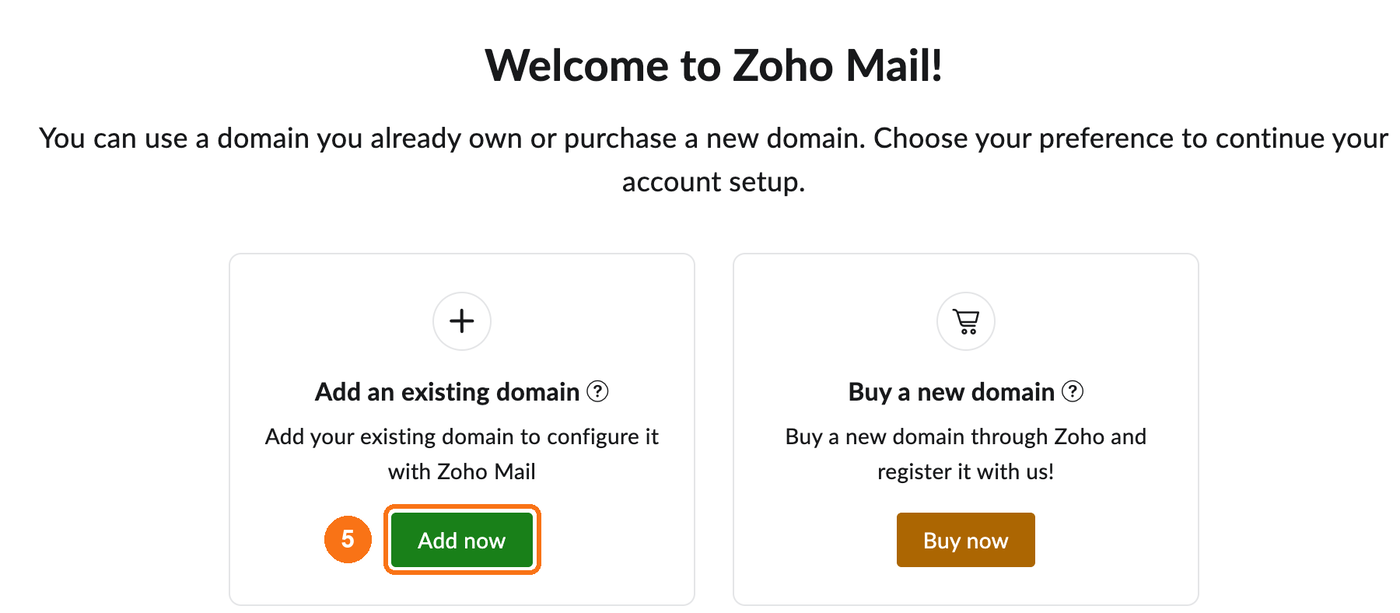
Zoho's setup now opens. It has stages listed down the left side, and the stage you are on is highlighted. In Zoho's setup, you're now at Hosting.
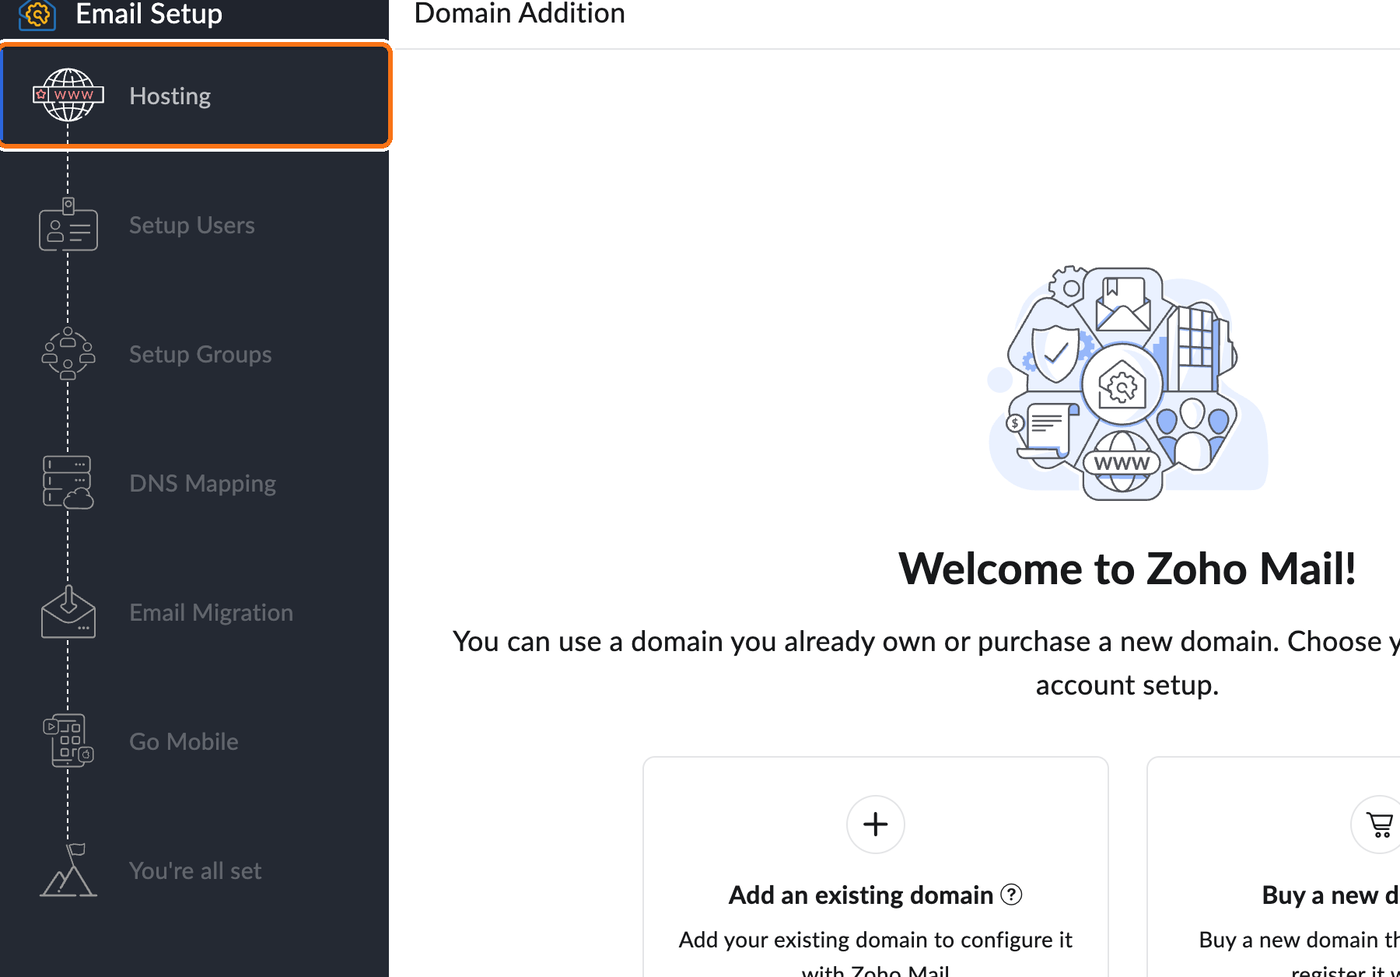
Under Add an existing domain, click Add now. Do not click Buy now, because you already own your domain.
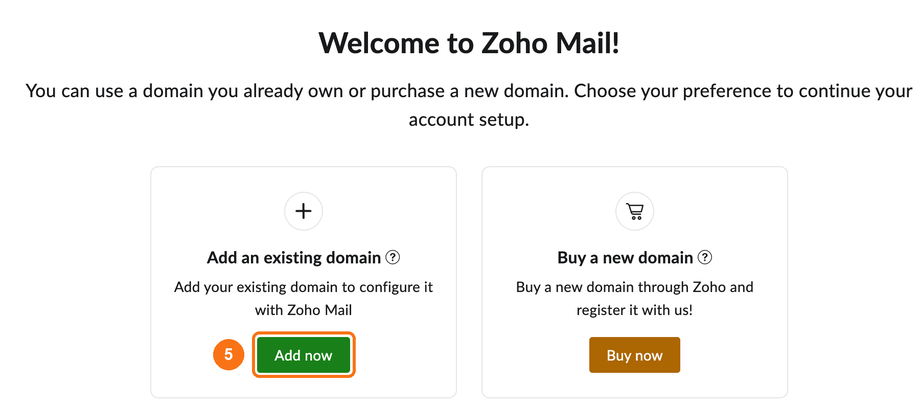
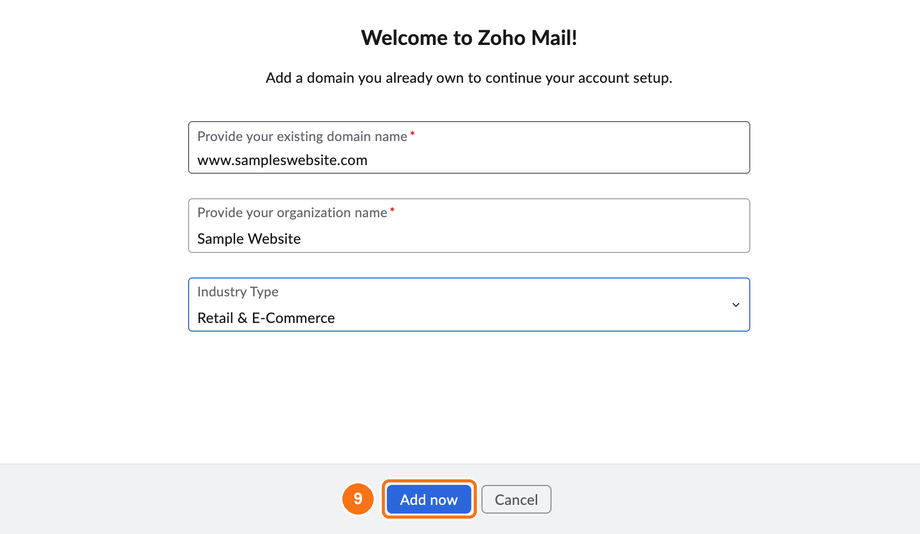
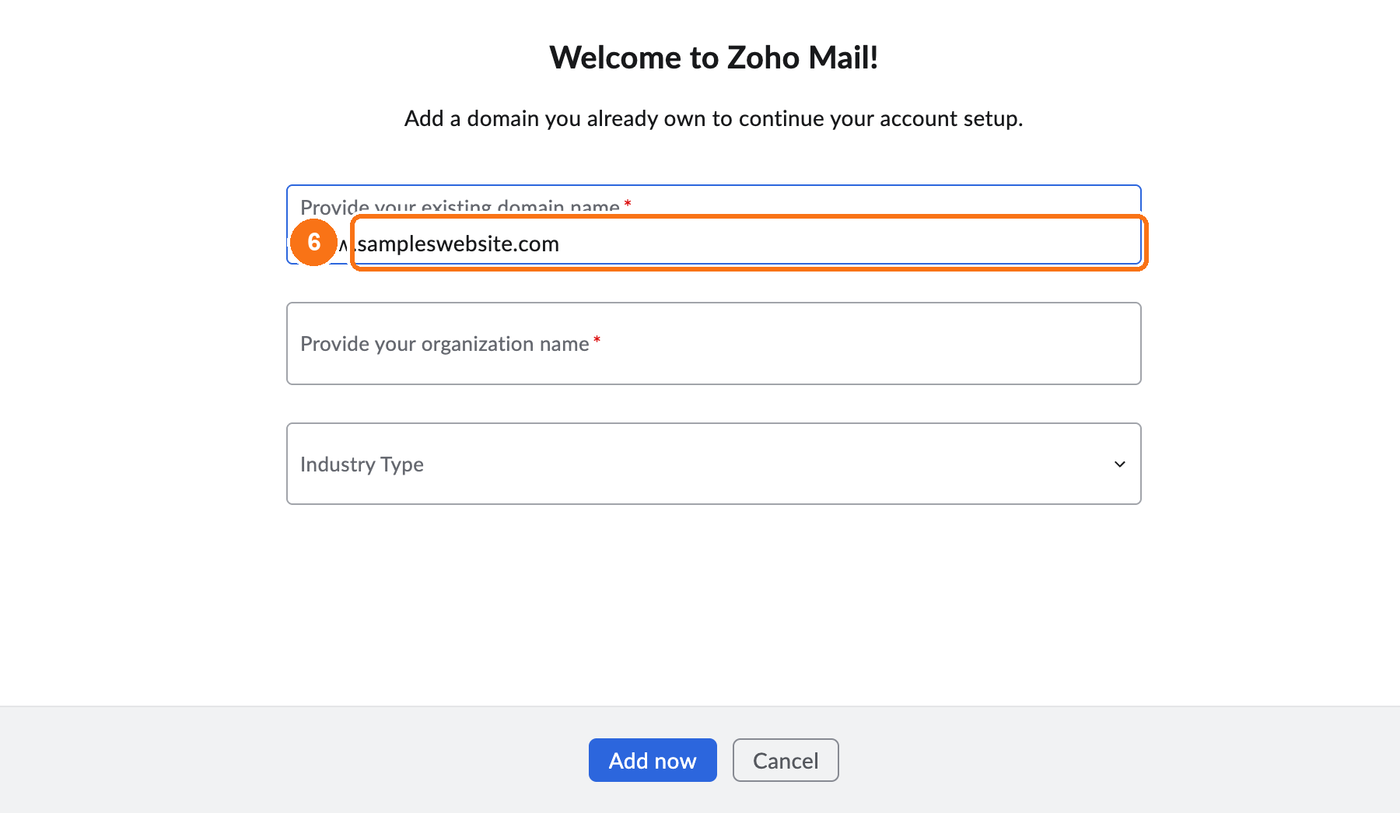
Type your domain without www, for example mystore.com. Zoho may add www. in front by itself; that's fine.
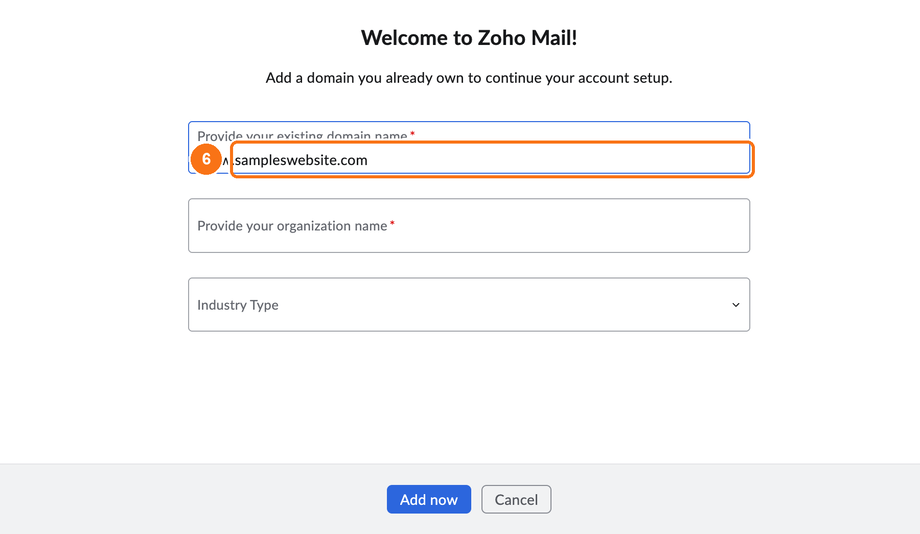
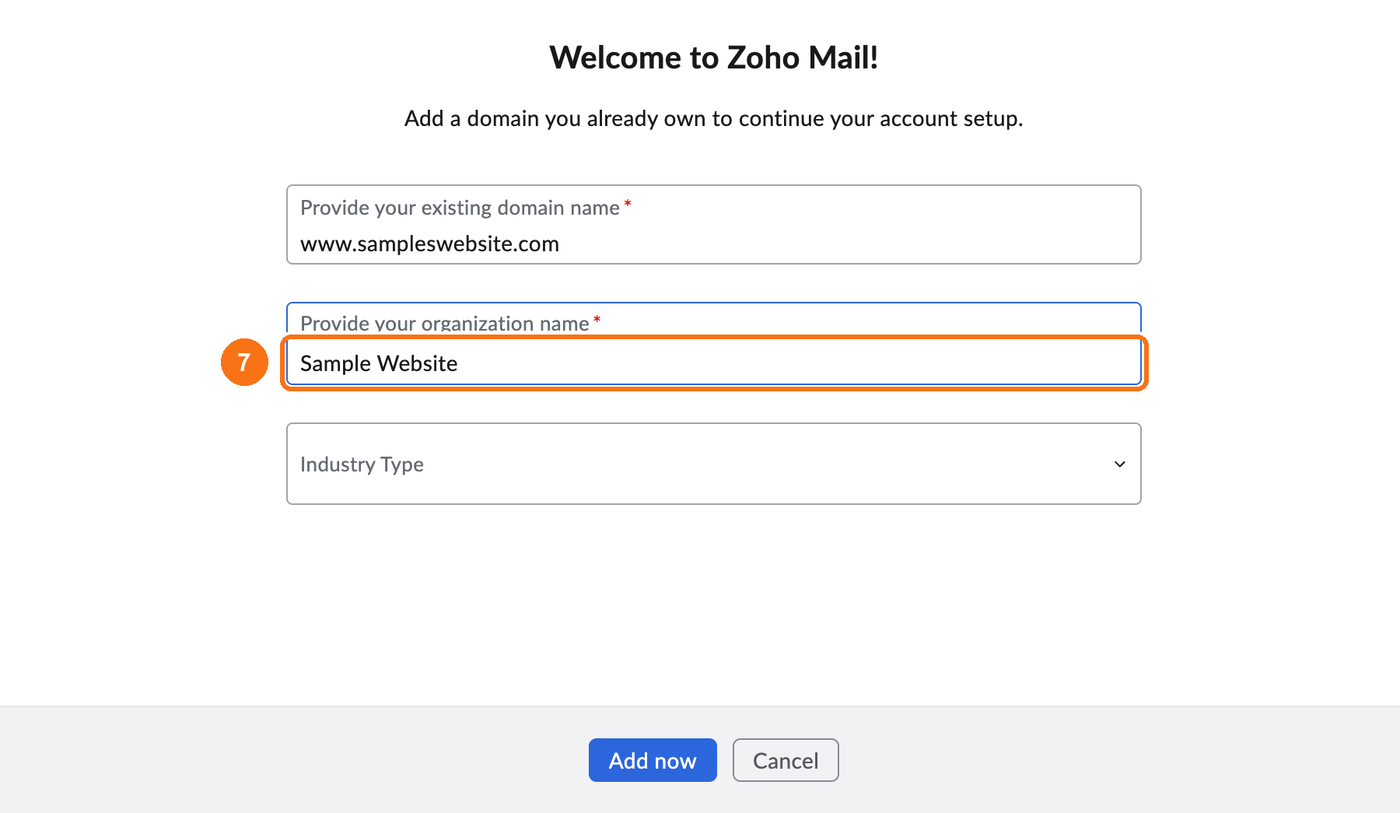
Type your business name in the organisation box.
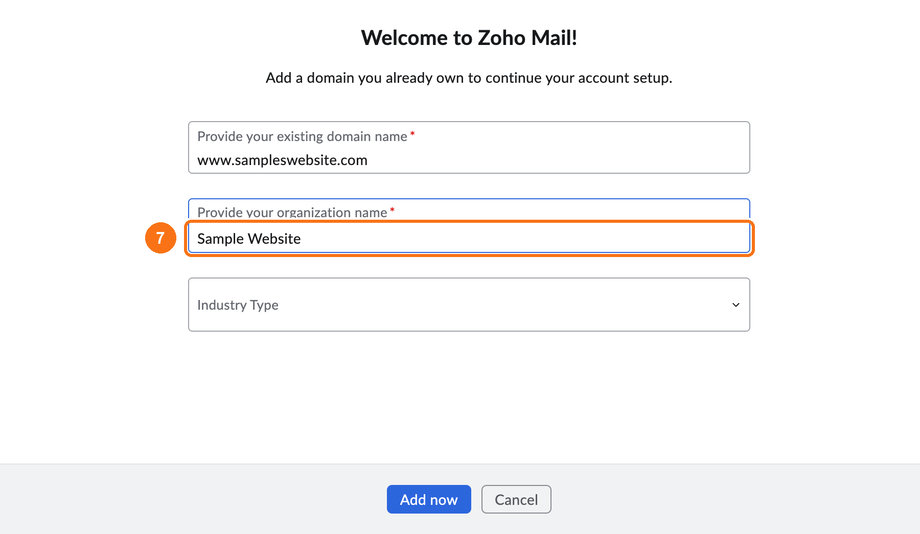
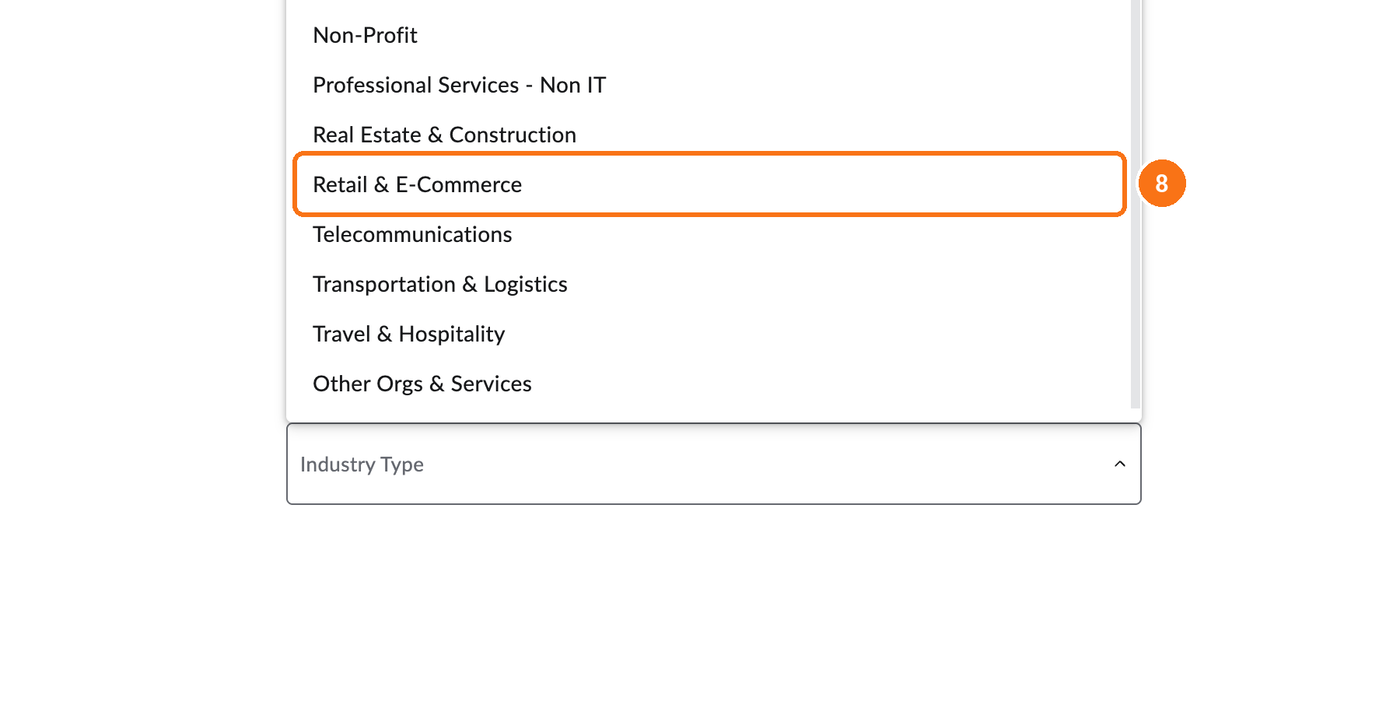
Open Industry Type and choose the one closest to your business. Zoho needs this before it will continue.
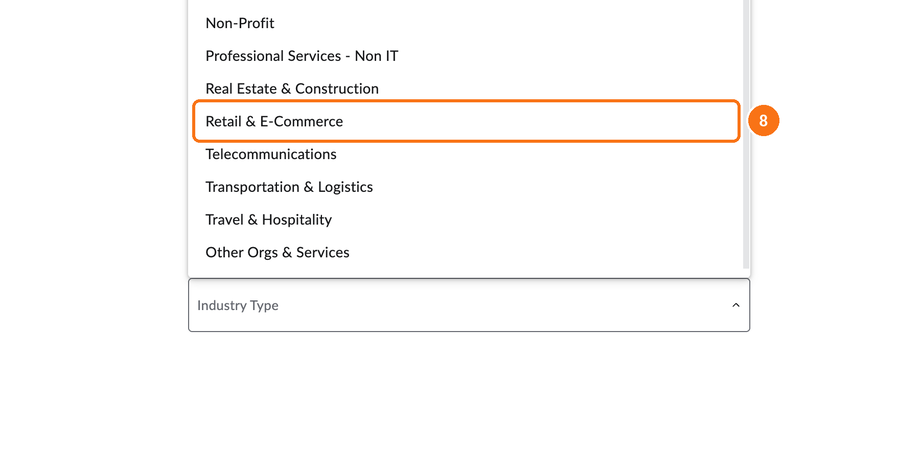
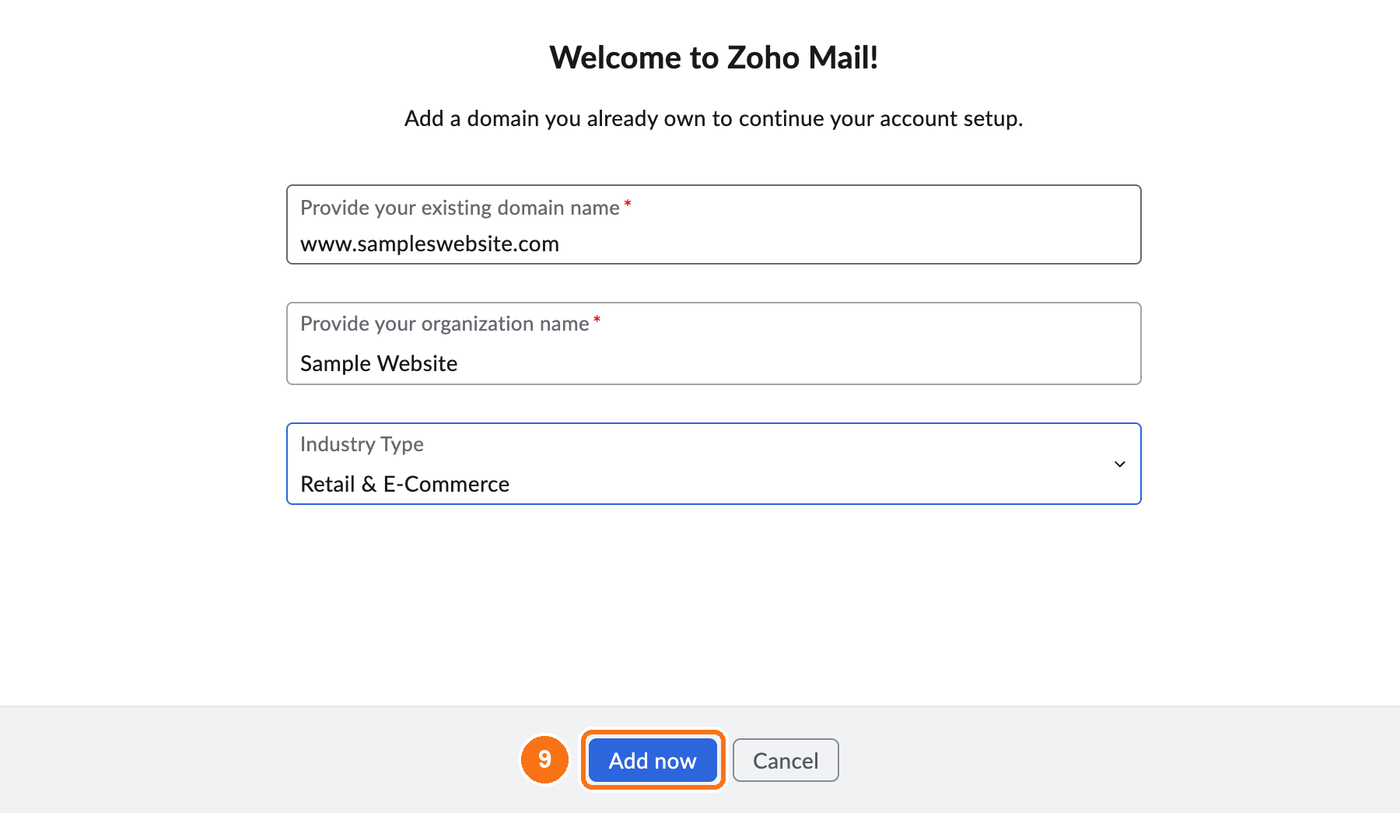
Click Add now.
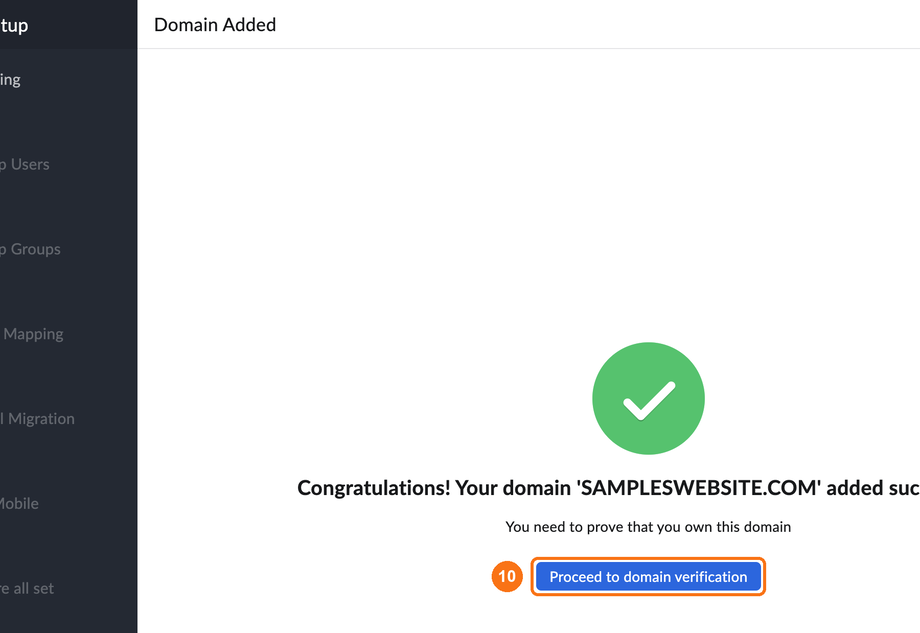
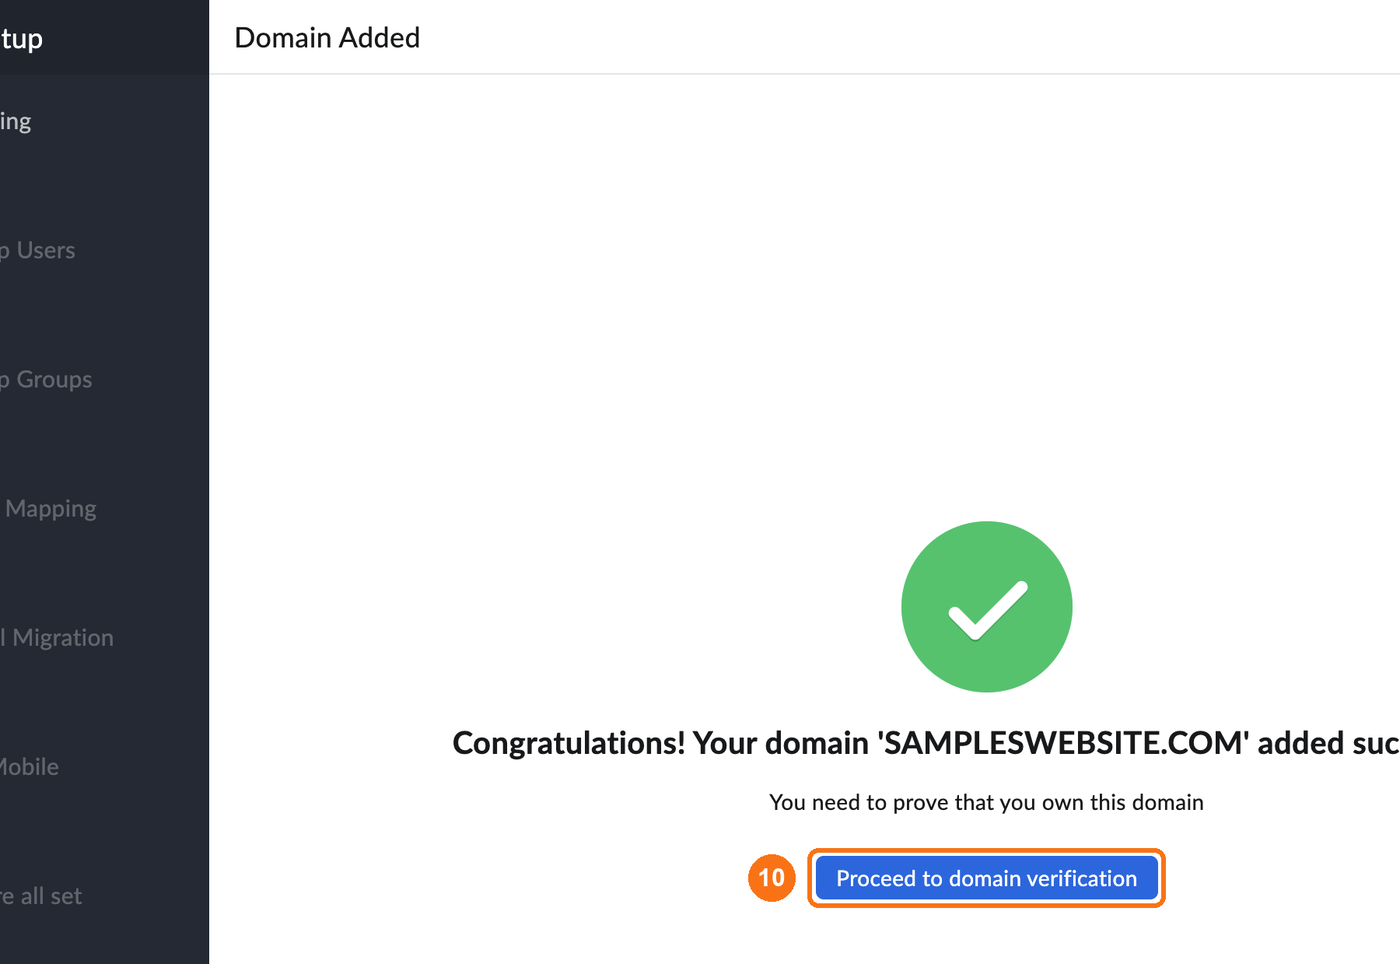
Zoho confirms the domain was added. Click Proceed to domain verification.
Prove you own the domain
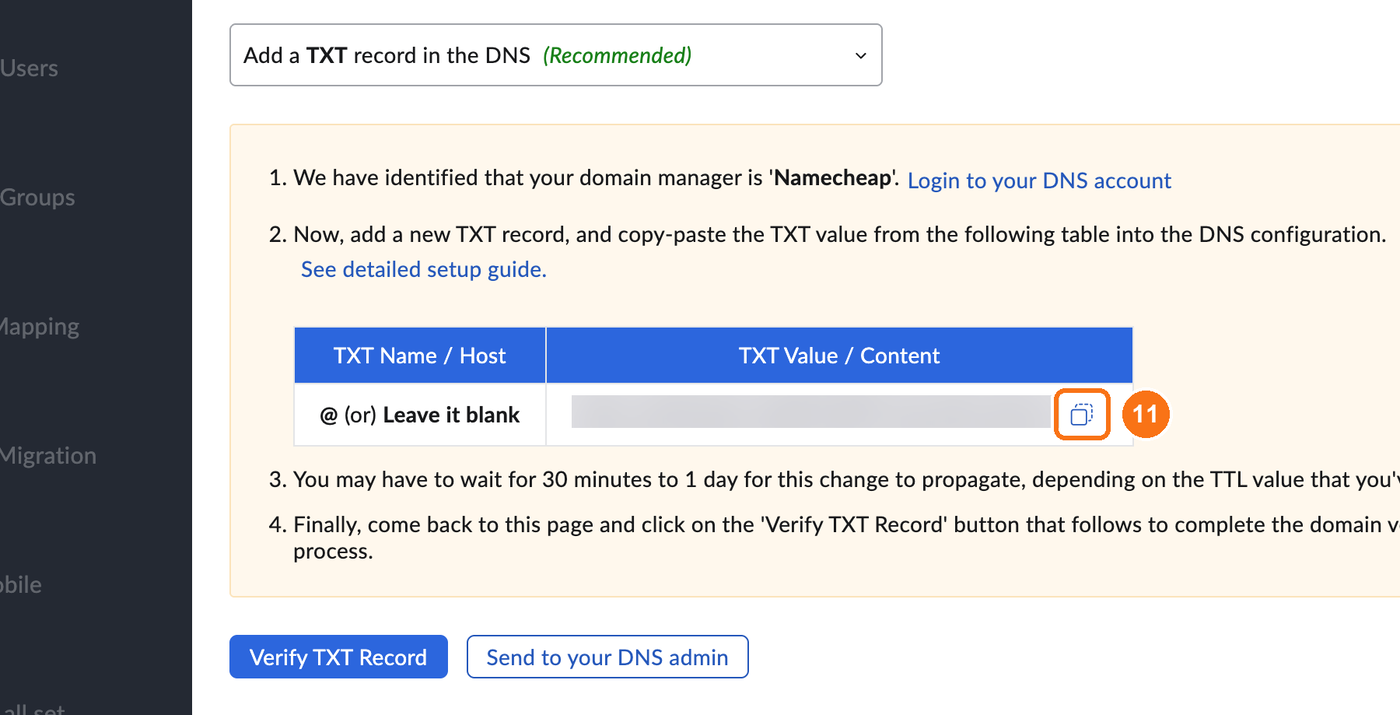
You're still at the first stage, now called Hosting Summary. Zoho gives you a TXT record to add at your domain company. It has a host of @ and a value that starts with zoho-verification=. Every account gets its own value.
Click the copy button next to the TXT value.
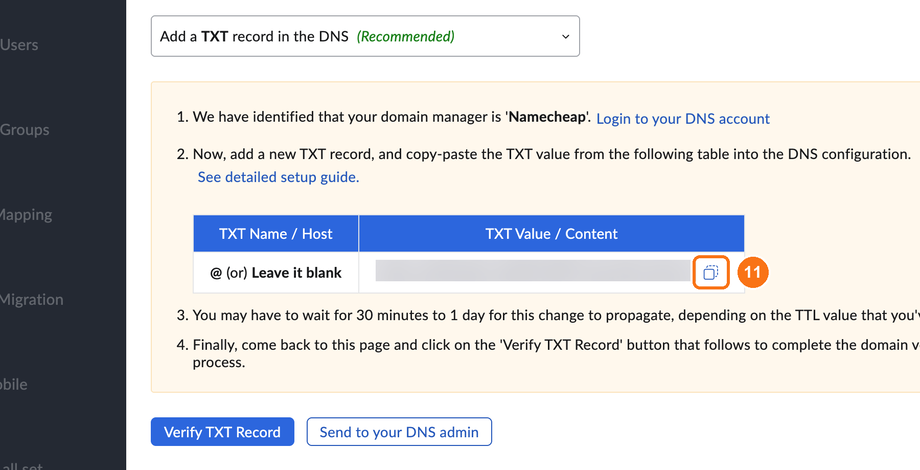
At your domain company, add a TXT record with Host @ and the value you copied. Our guide Adding DNS records and resetting nameservers at Namecheap shows each click at Namecheap. Our guides for GoDaddy and Hostinger do the same for those companies.
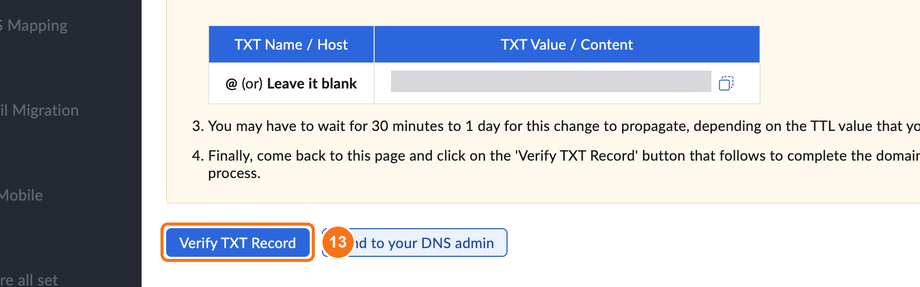
Go back to Zoho and click Verify TXT Record.
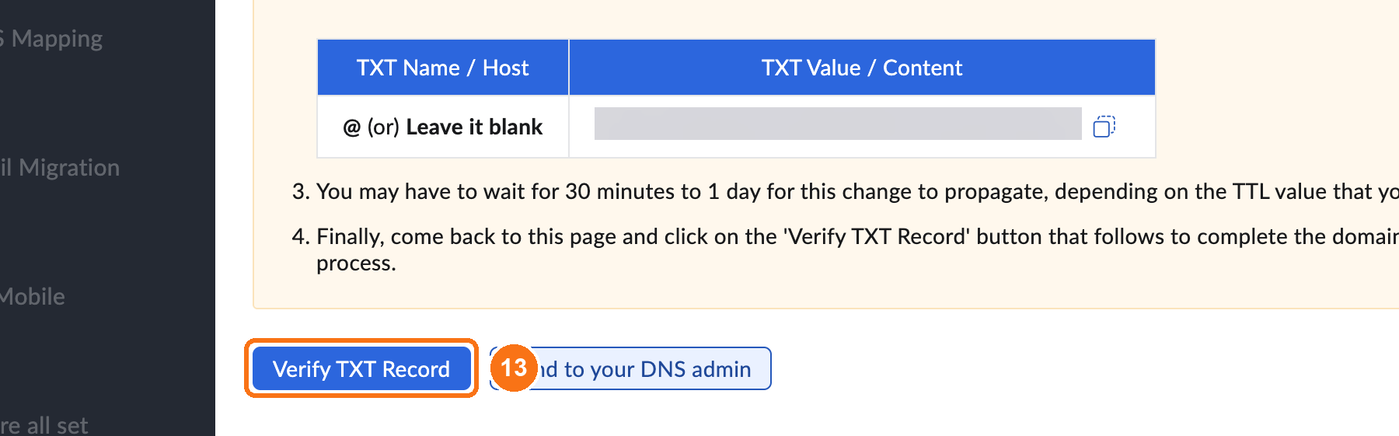
Warning: The verification value is a DNS record. It never goes into the nameserver boxes at your domain company. If you type it there, your website and email will stop working.
If Zoho says the record was not found, wait a few minutes and click Verify TXT Record again. Records you have just added can take a little while to show up.
Create your mailbox
You're still at Hosting Summary.
Zoho asks for your email address. Type the part before the @, for example info.
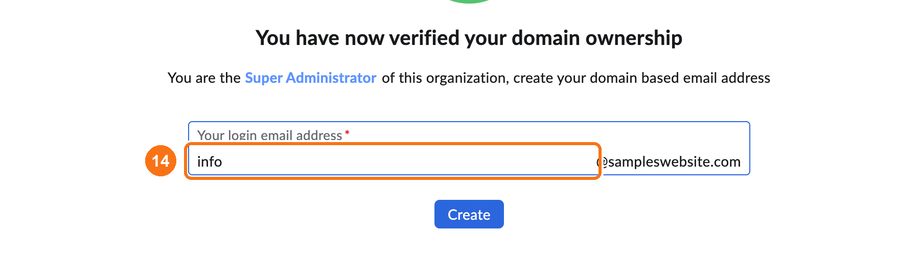
Click Create.
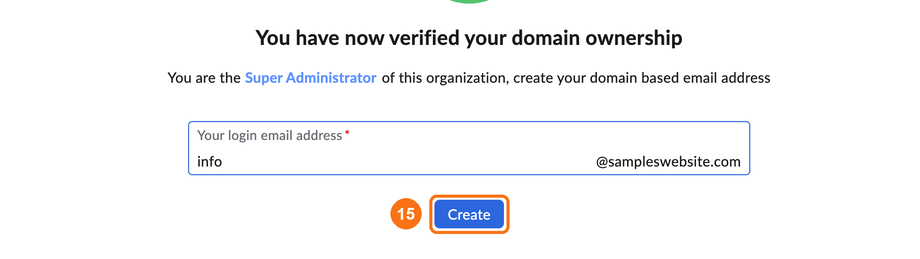
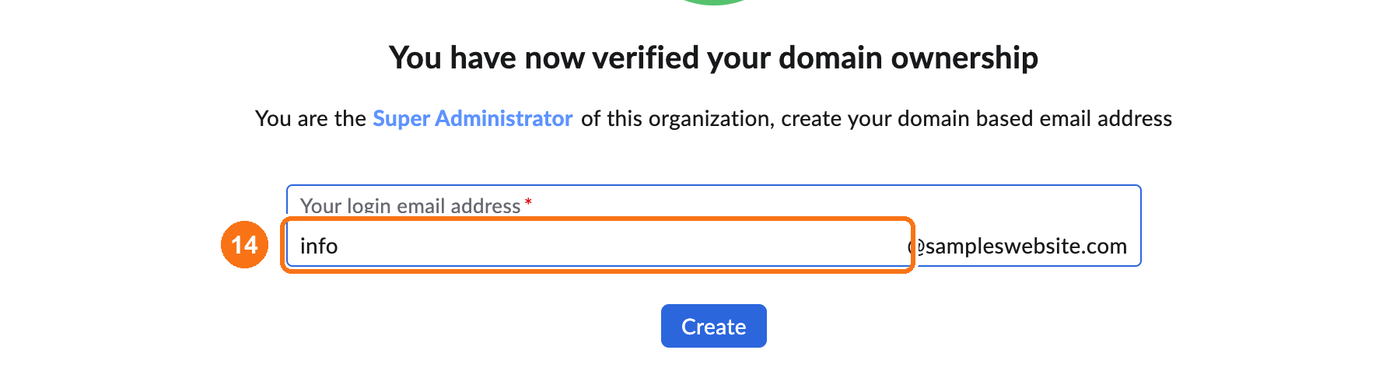
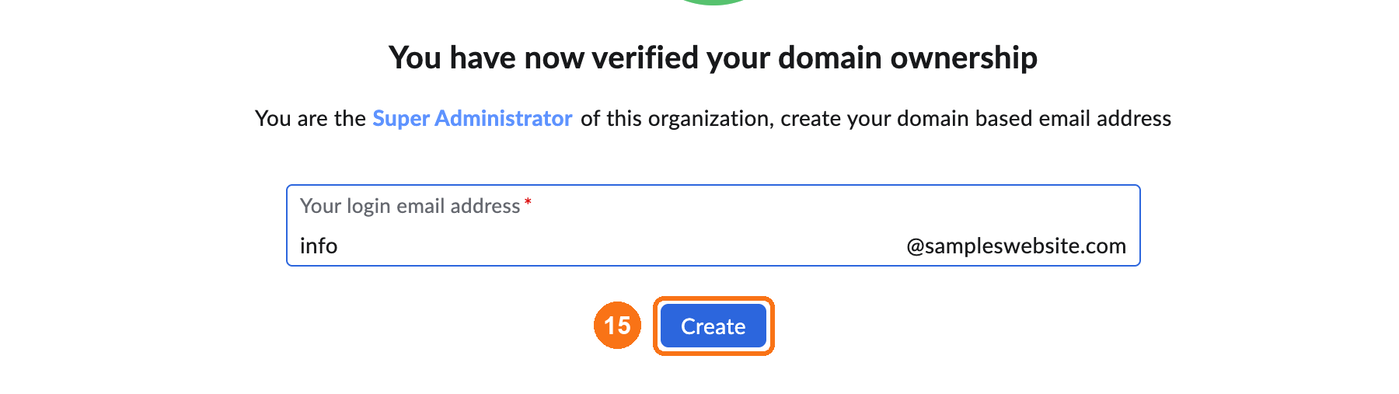
Your address, for example info@mystore.com, is now the main address of your Zoho account. You can add more users later, up to the free plan's limit.
Setup Users
In Zoho's setup, you're now at Setup Users. Zoho lists your mailbox here. Later stages stay greyed out until you reach them.
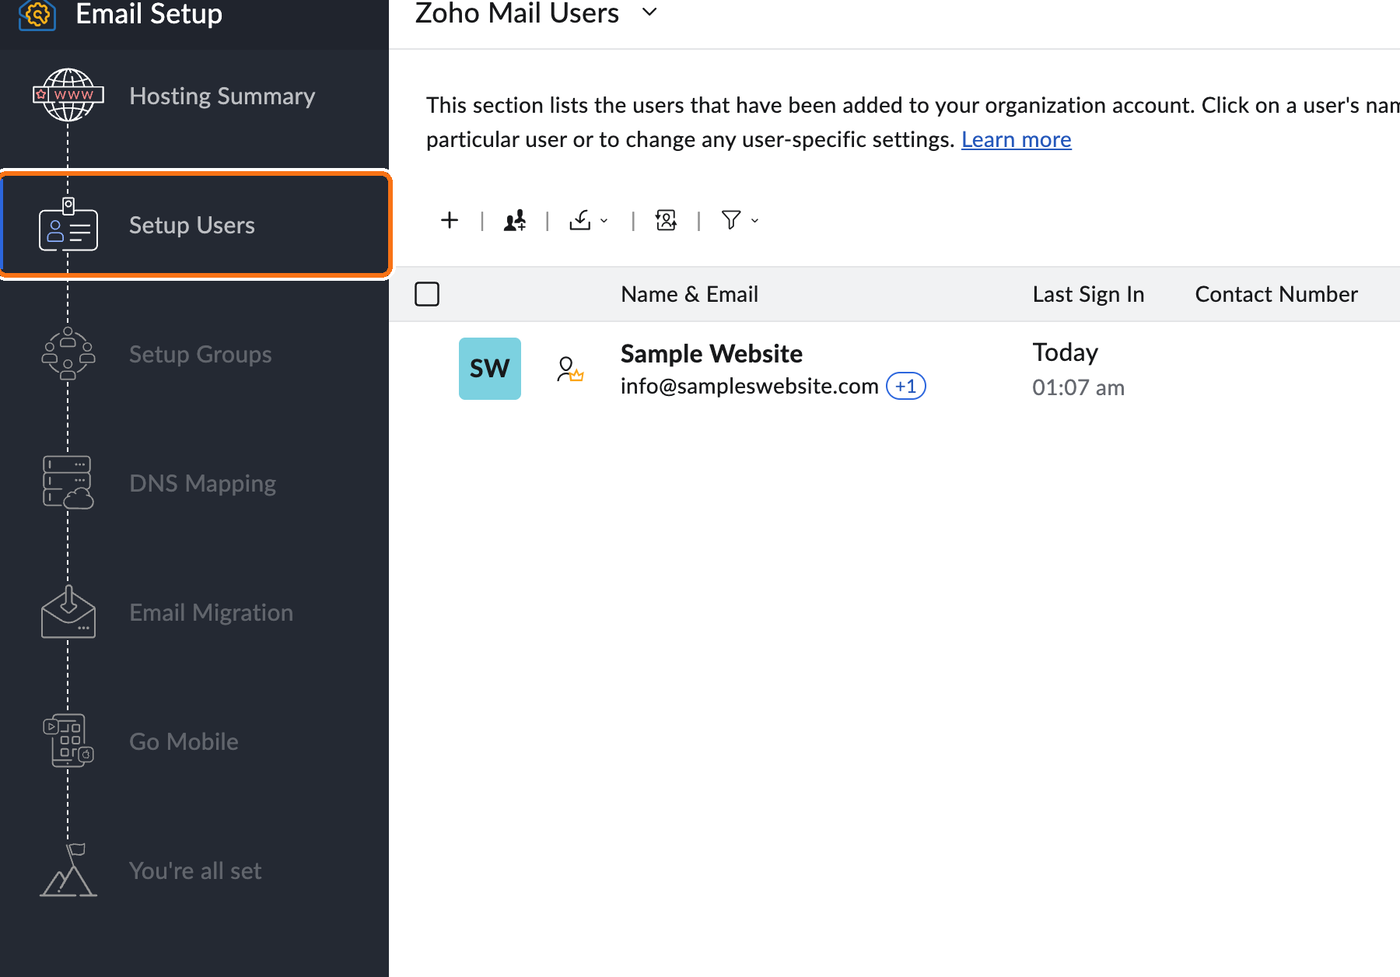
Click Proceed to Setup Groups.


Setup Groups
In Zoho's setup, you're now at Setup Groups. Groups are optional.
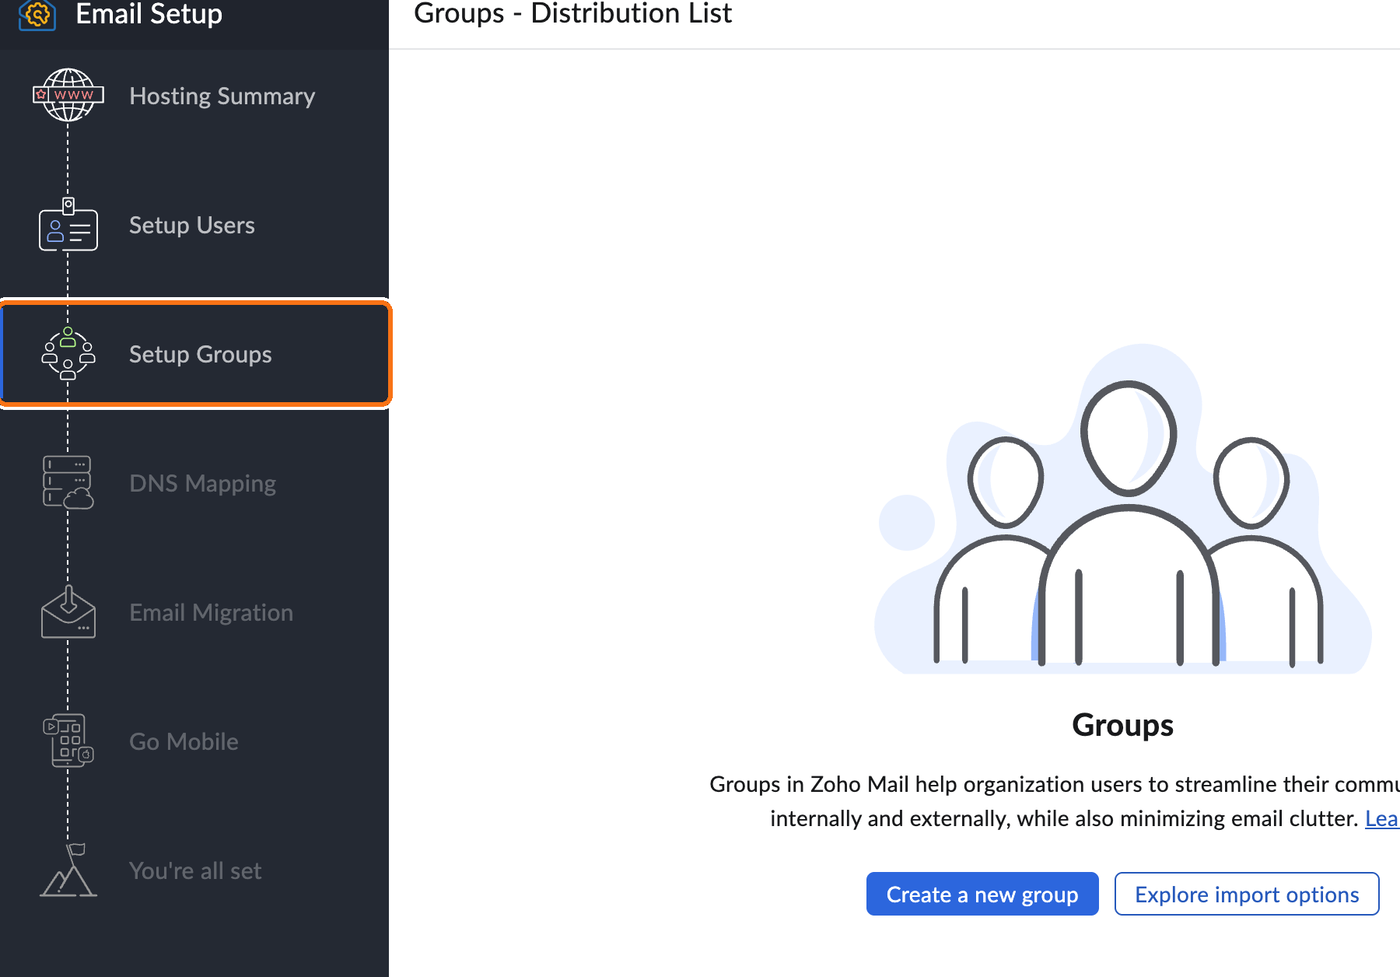
Click Proceed to DNS Mapping.


DNS Mapping: add the email records
In Zoho's setup, you're now at DNS Mapping. Zoho lists the records that make your email work: three MX records, one SPF record and one DKIM record.
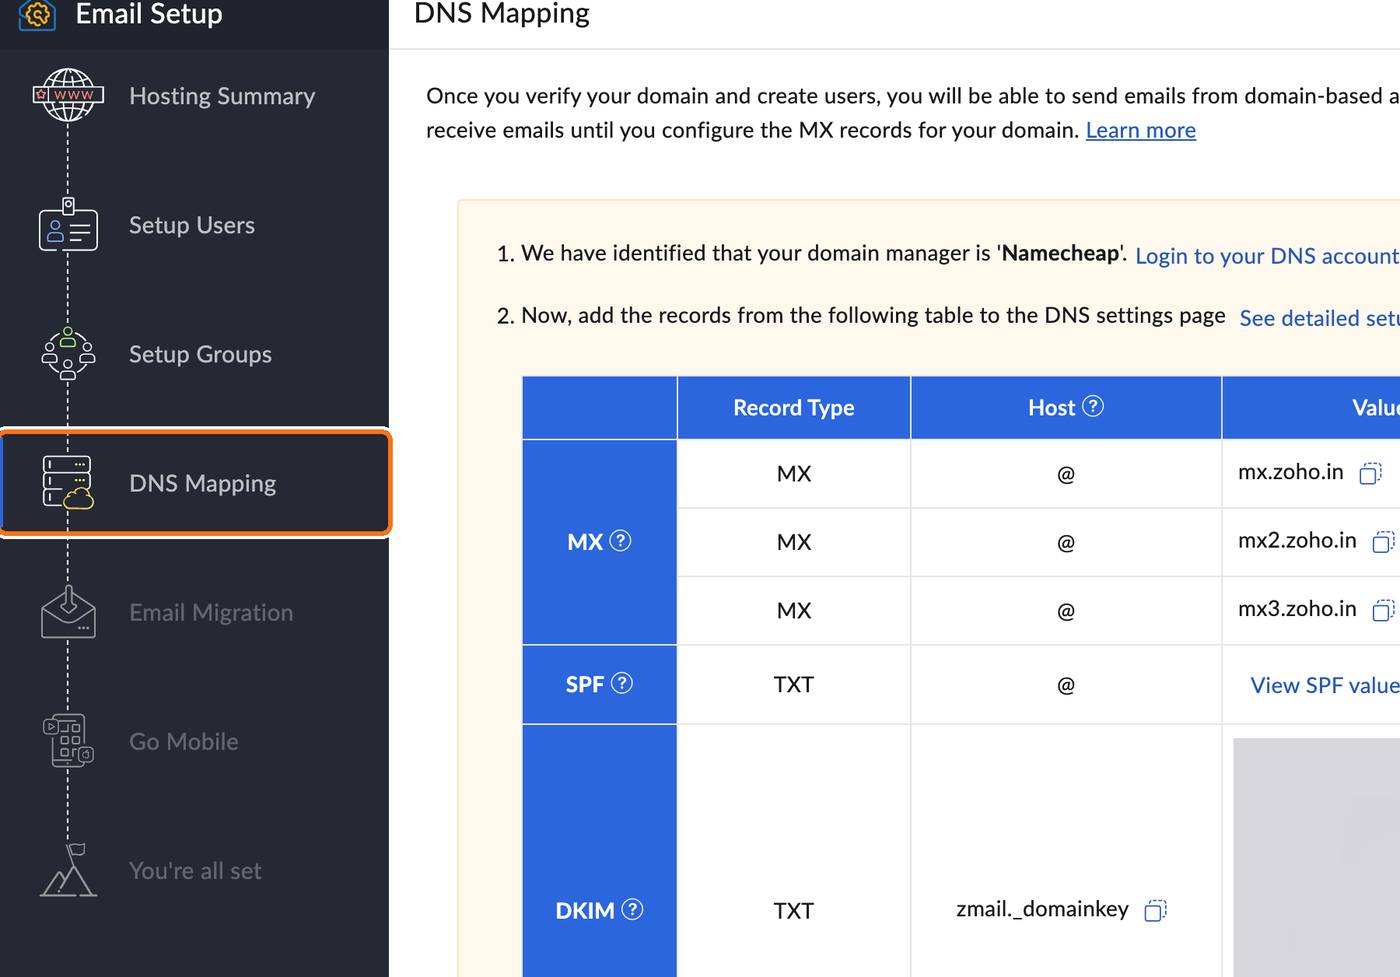
Click View SPF value to see the SPF record.
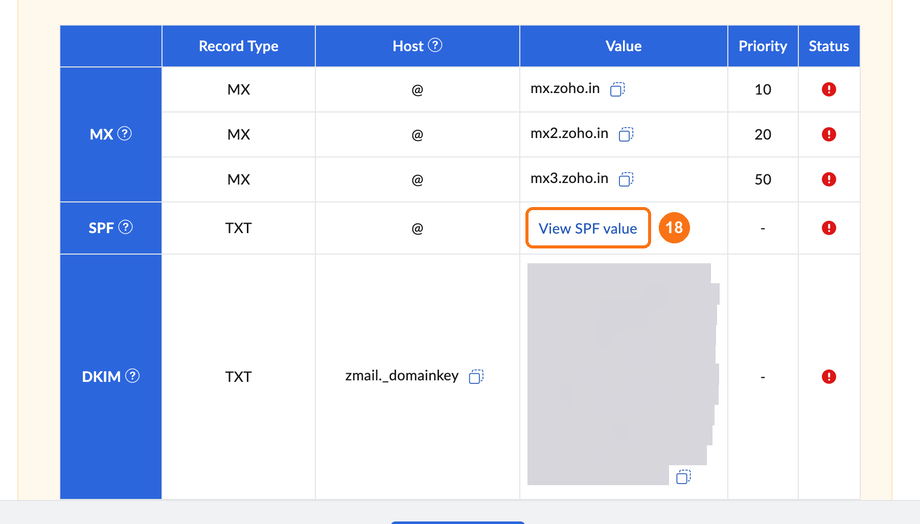
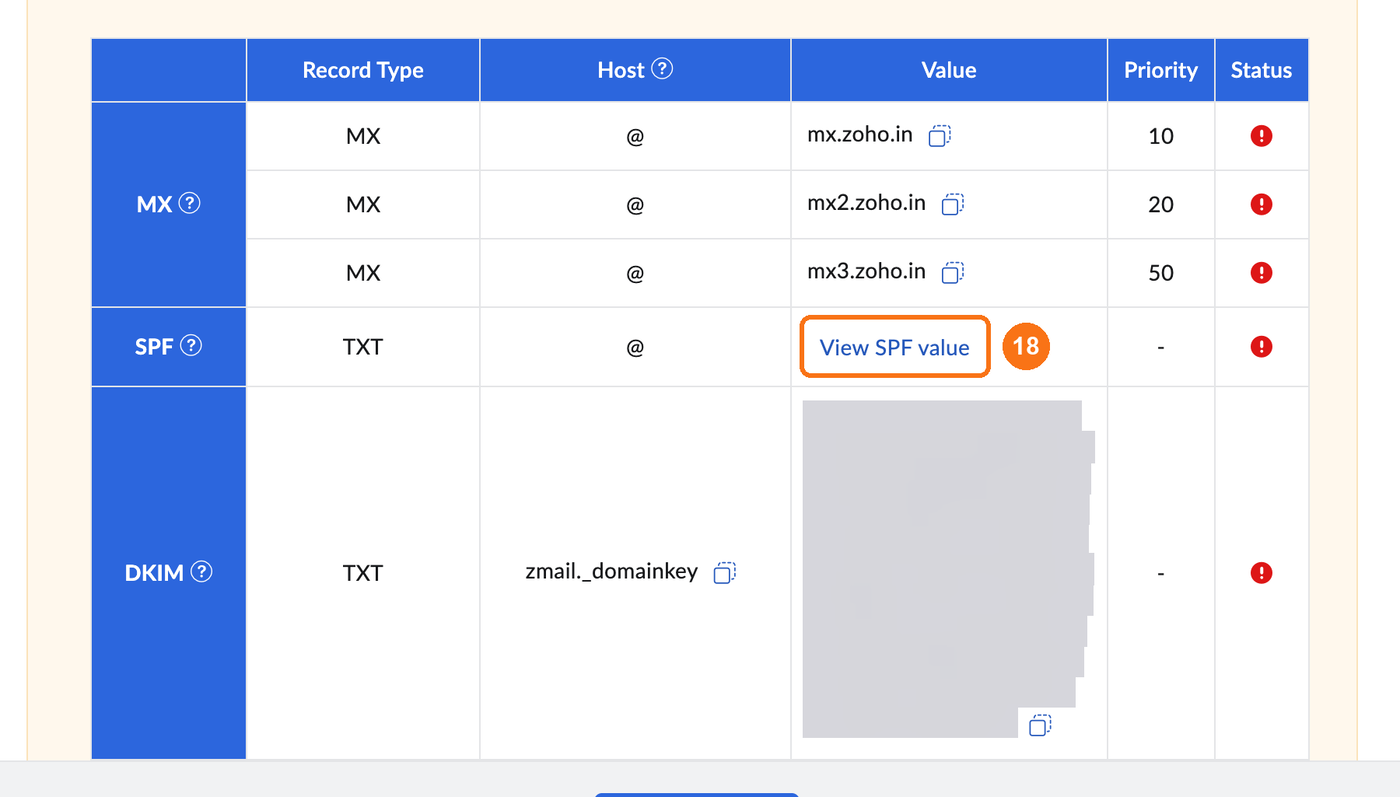
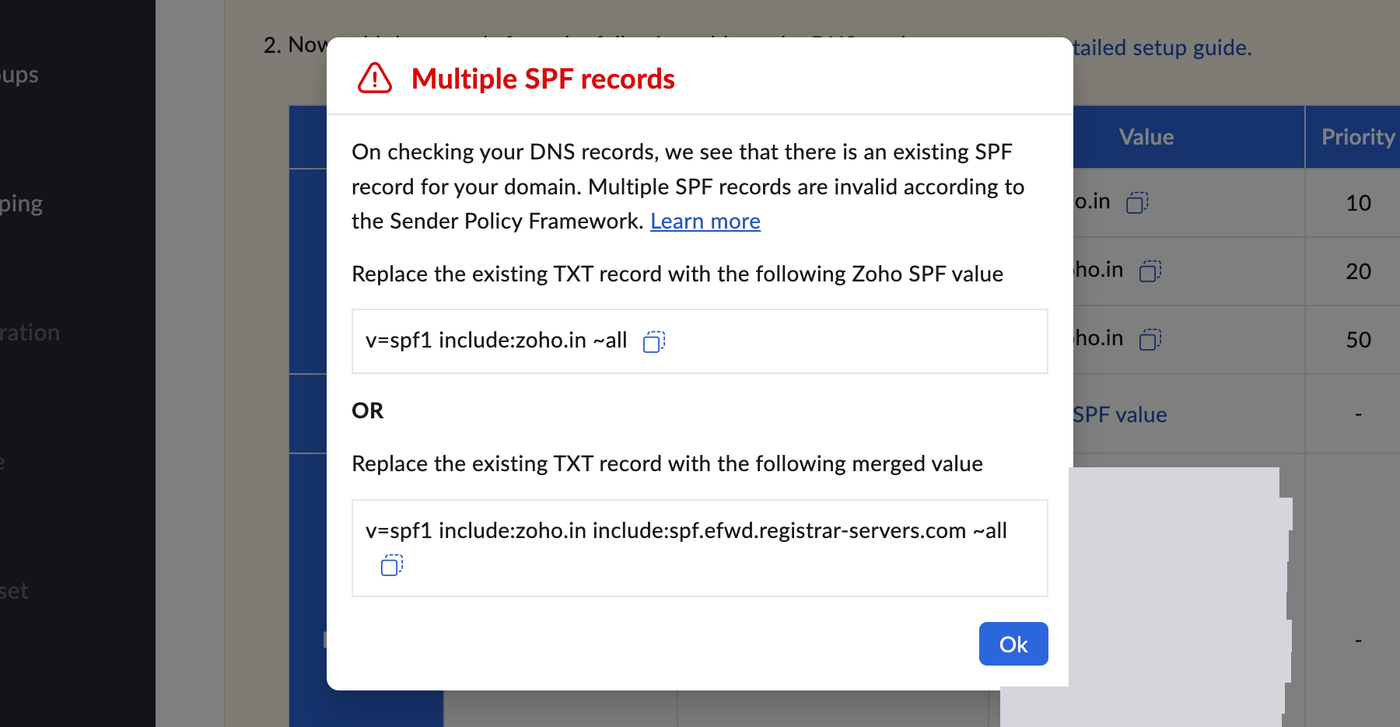
If your domain already has an SPF record, Zoho tells you. A domain can only have one SPF record. Replace the old one with Zoho's value. Do not add a second one.
At your domain company, add each record exactly as Zoho shows it.
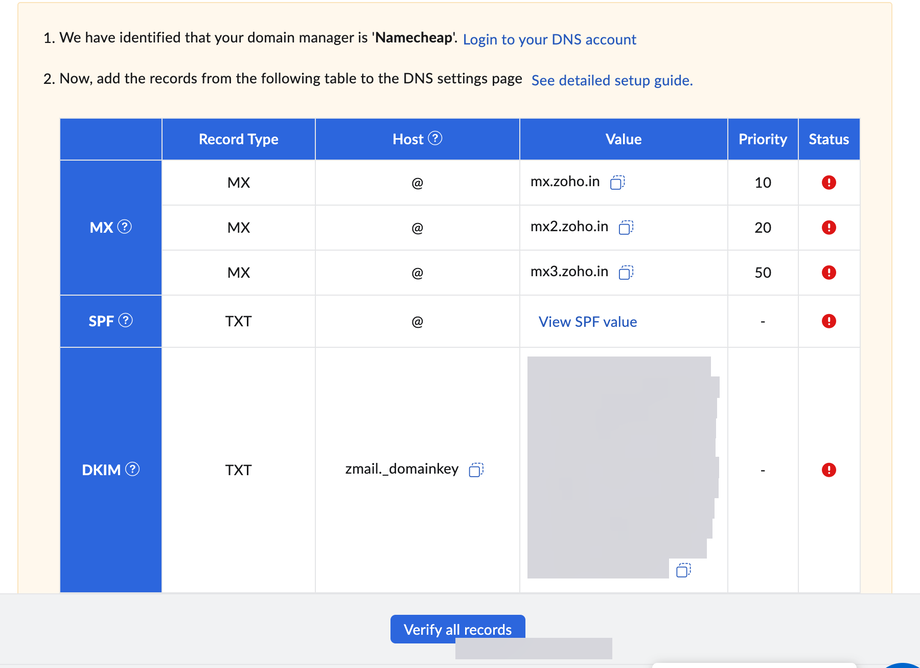
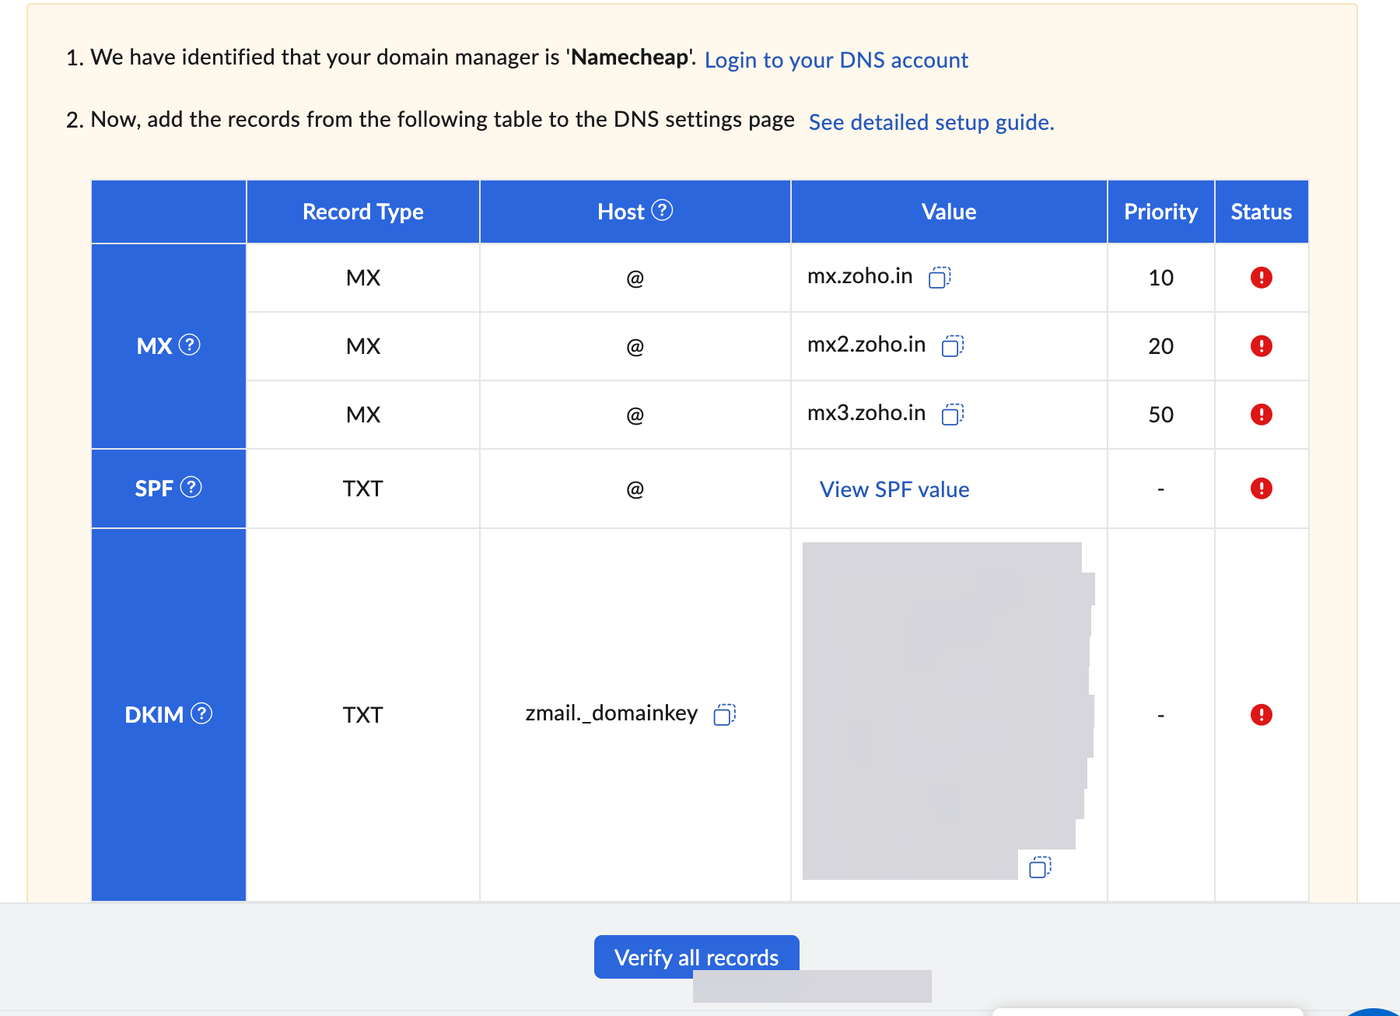
The records are:
MX: three records, all with host @. Copy each mail server and its priority.
SPF: a TXT record with host @, using the value from step 18.
DKIM: a TXT record. Copy the Host name exactly as Zoho shows it, because it can differ between accounts. The value is long, so use the copy button.
Warning: If your domain had email somewhere else before, do not copy the old mail records across. Remove the old MX records and the old SPF record, so only Zoho's are left. Old MX records left in place are the most common reason email does not arrive.
Note: At Namecheap, you must first set Mail Settings to Custom MX before you can add MX records. Our Namecheap guide shows each click.
When all the records are added, click Verify all records.
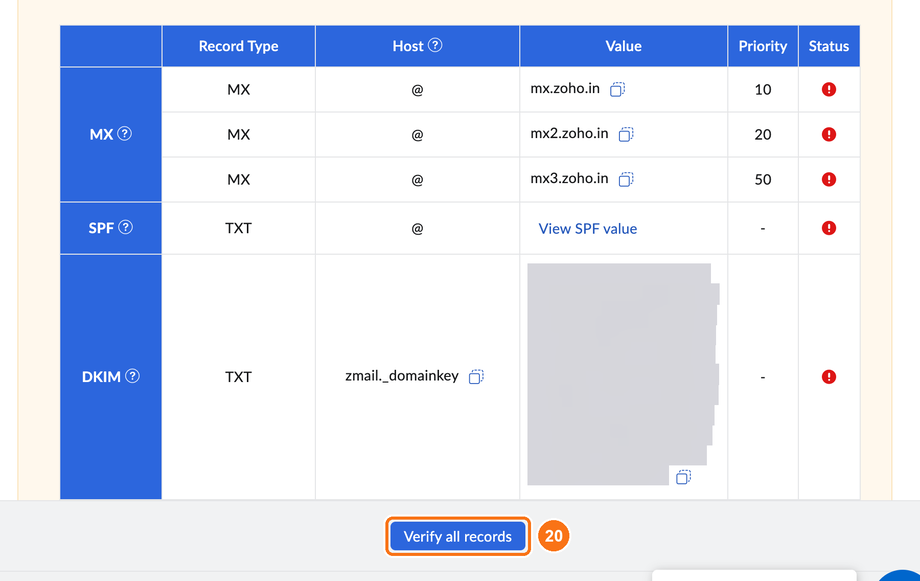
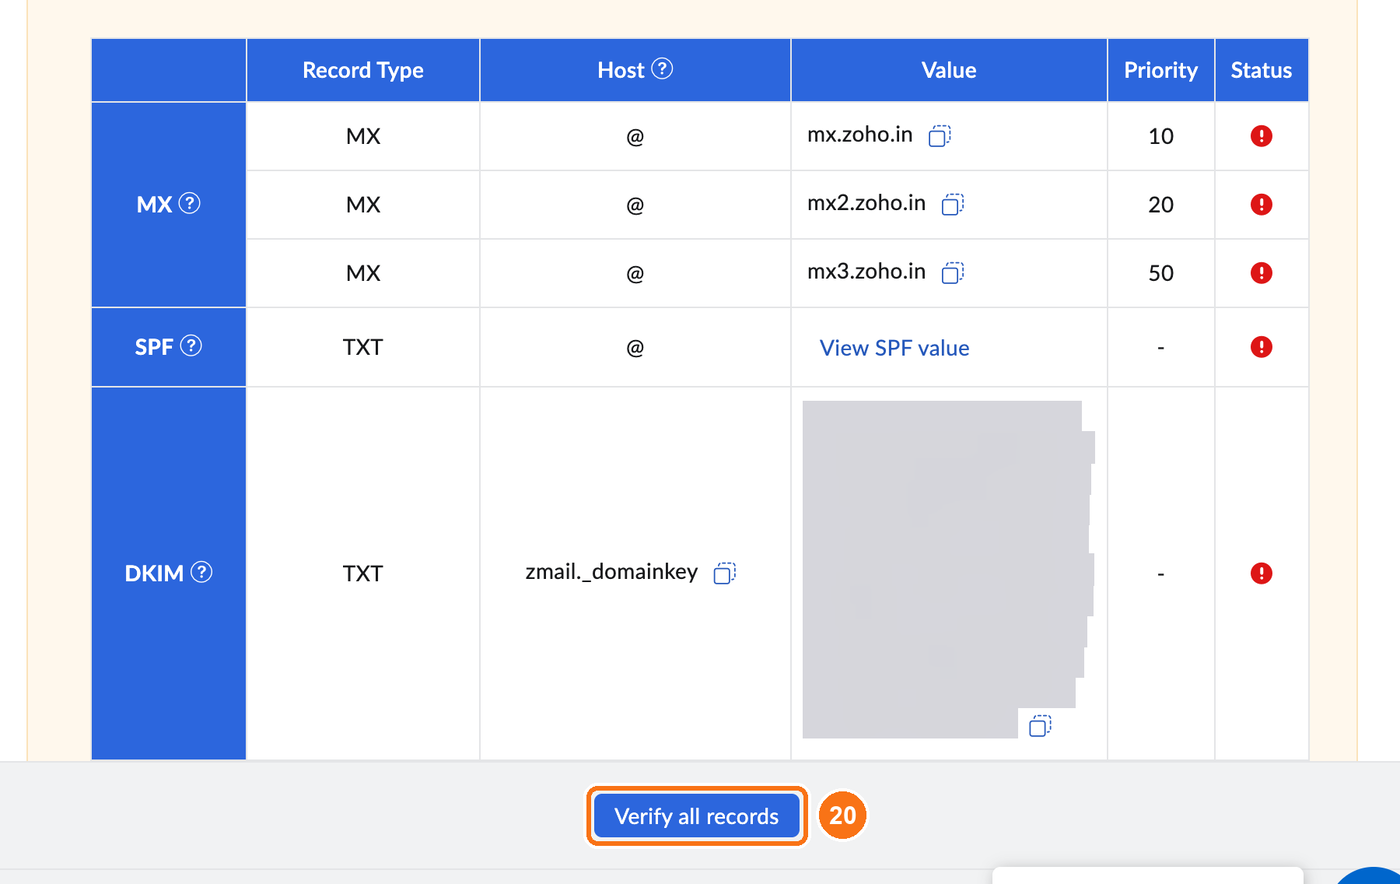
Some records can take a while to show up. Zoho may tick the MX records first and say "The DNS records may take a while … to get propagated". That is normal. Wait, then click Verify all records again.
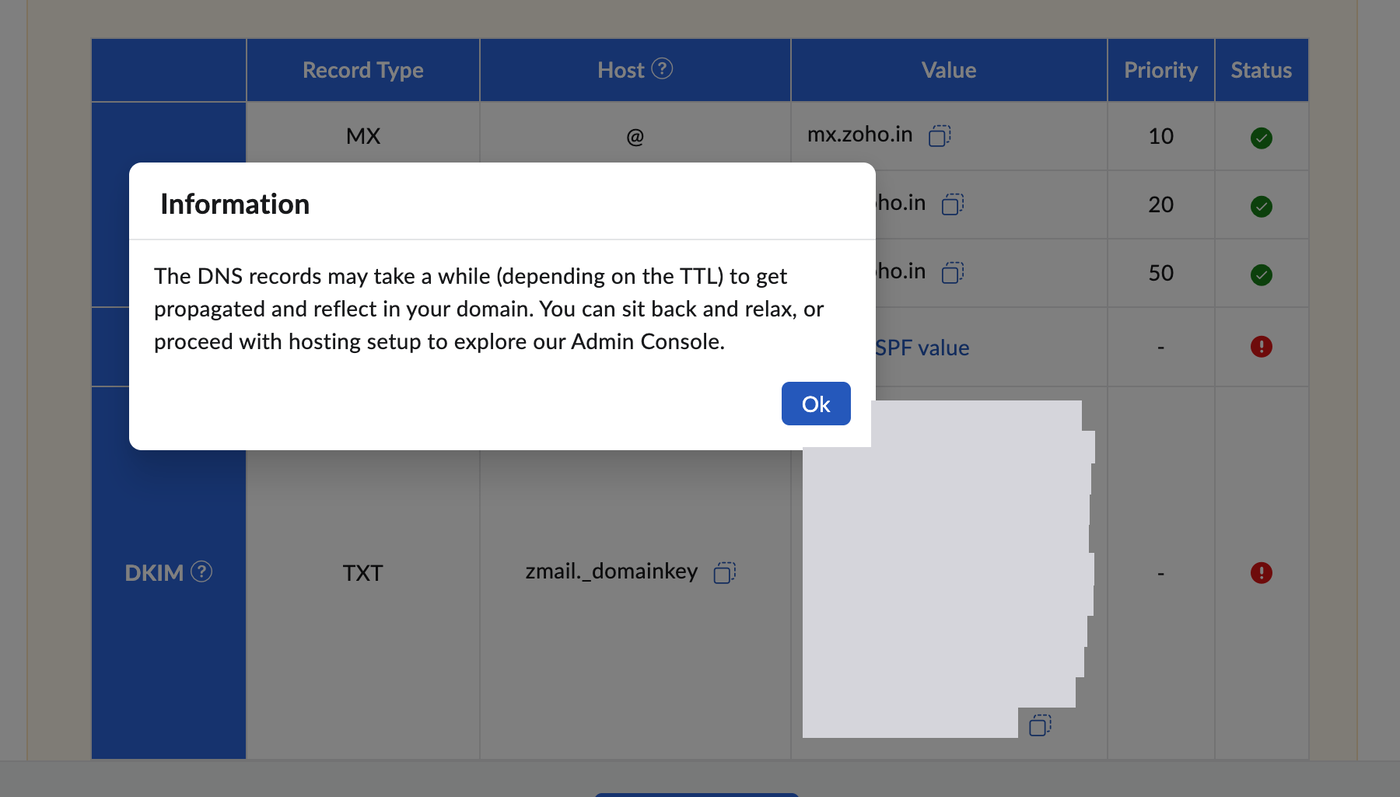
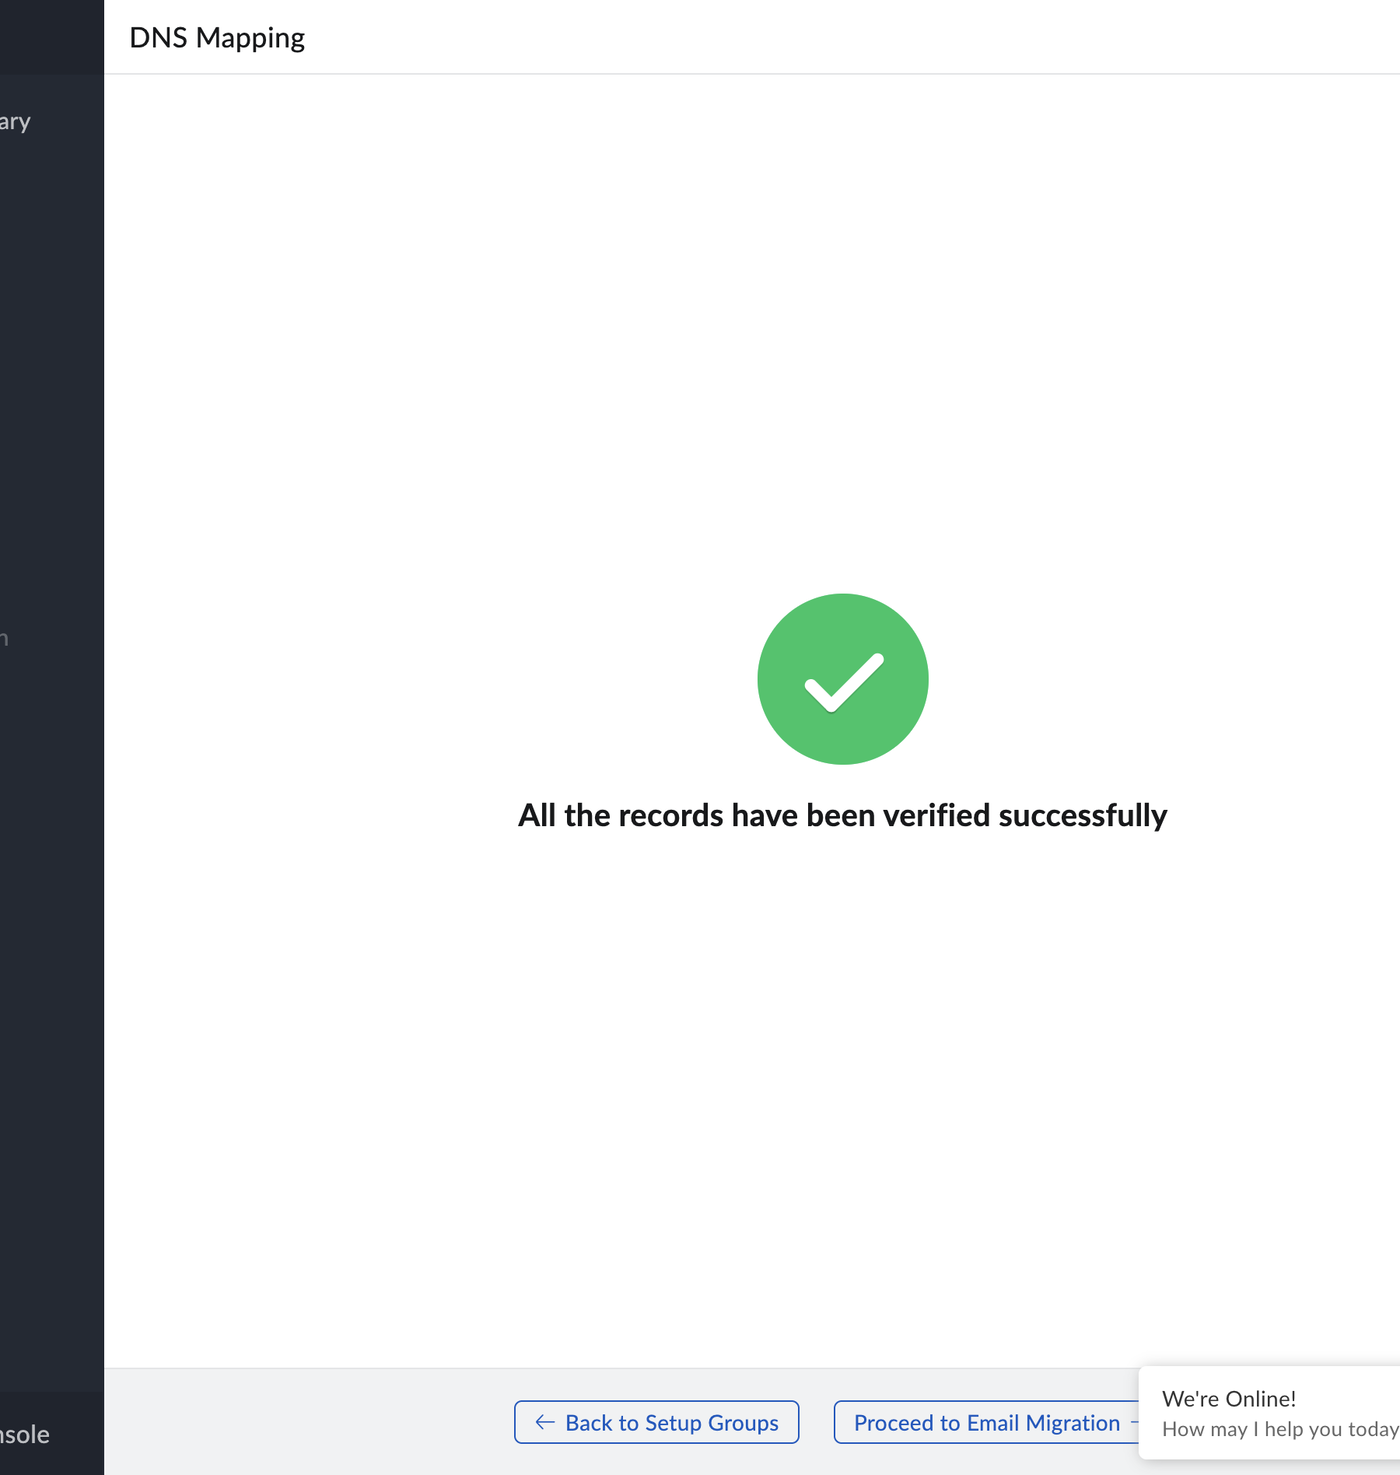
When everything is in place, Zoho says All the records have been verified successfully.
Tip: A changed SPF record can take a while to update at some domain companies. Check again later rather than adding a second SPF record.
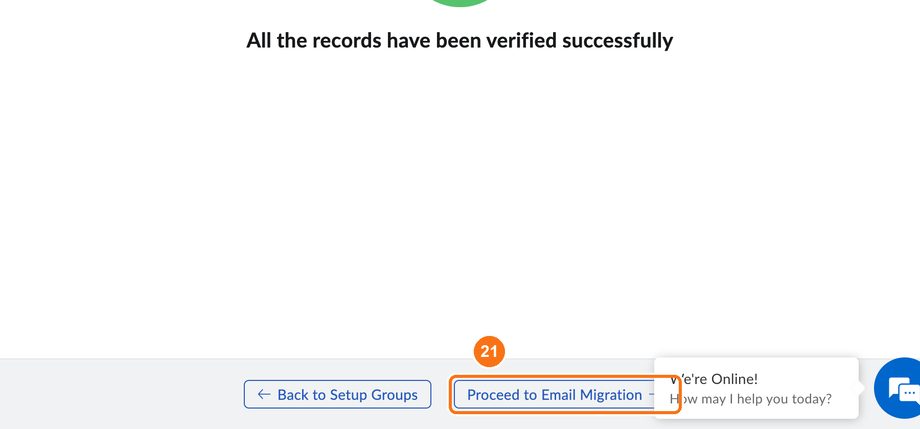
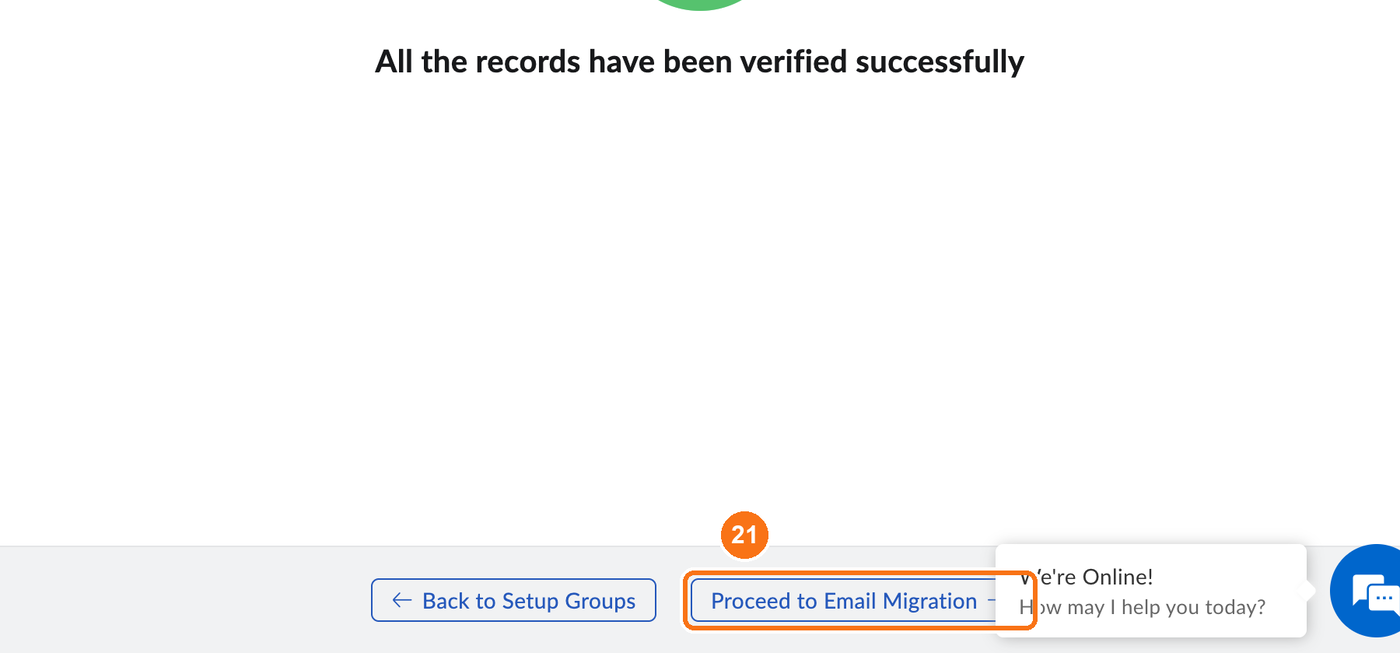
Click Proceed to Email Migration.
Email Migration
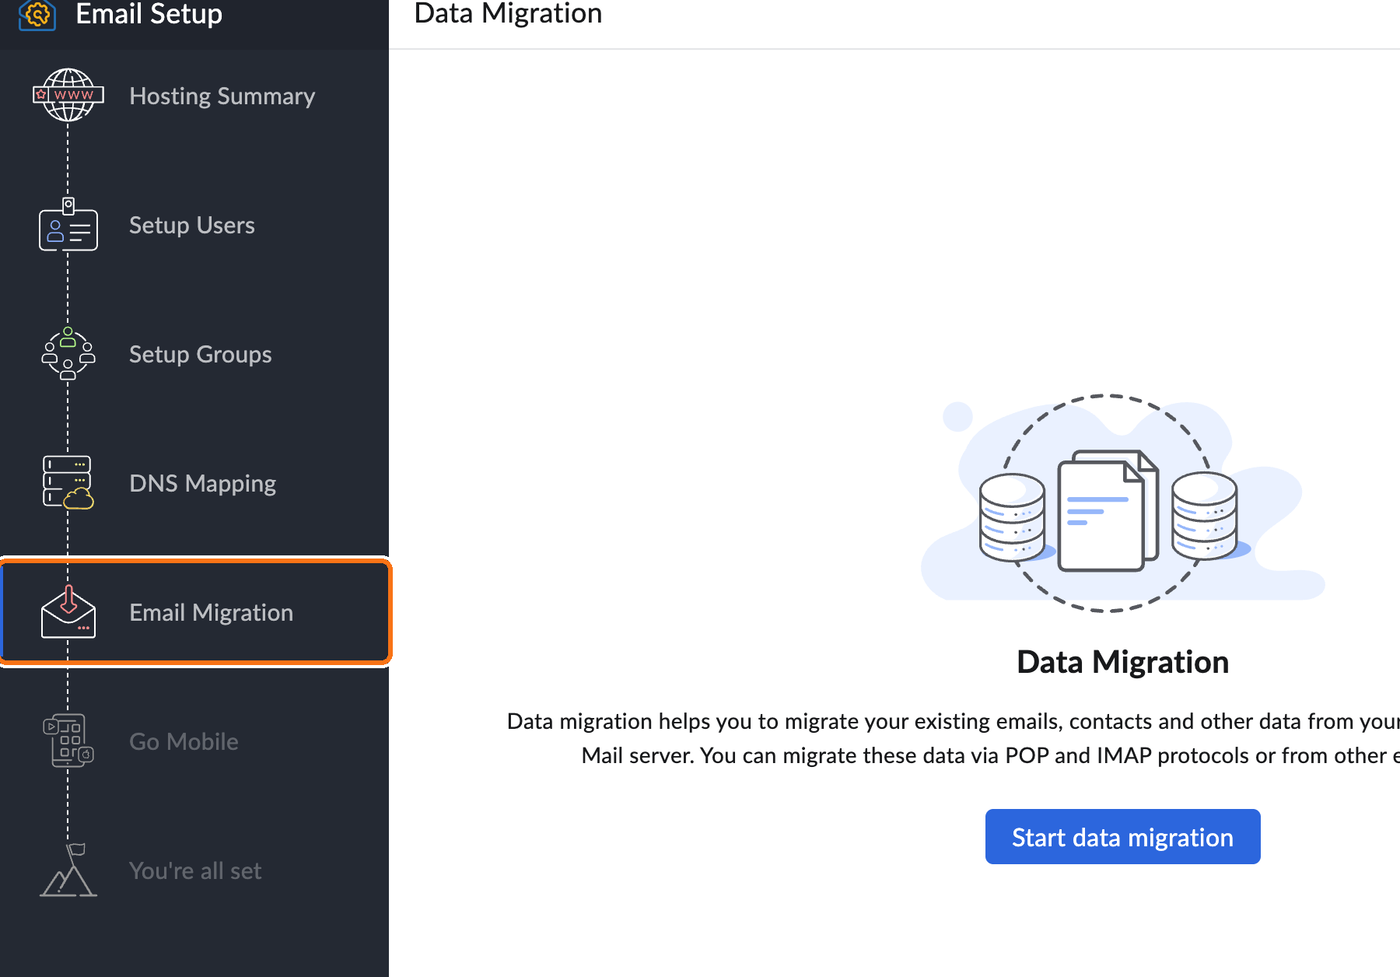
In Zoho's setup, you're now at Email Migration. Here you can bring old emails across from a previous email provider. If you don't need to, carry on.
Click Proceed to Go Mobile.


Go Mobile: read your email
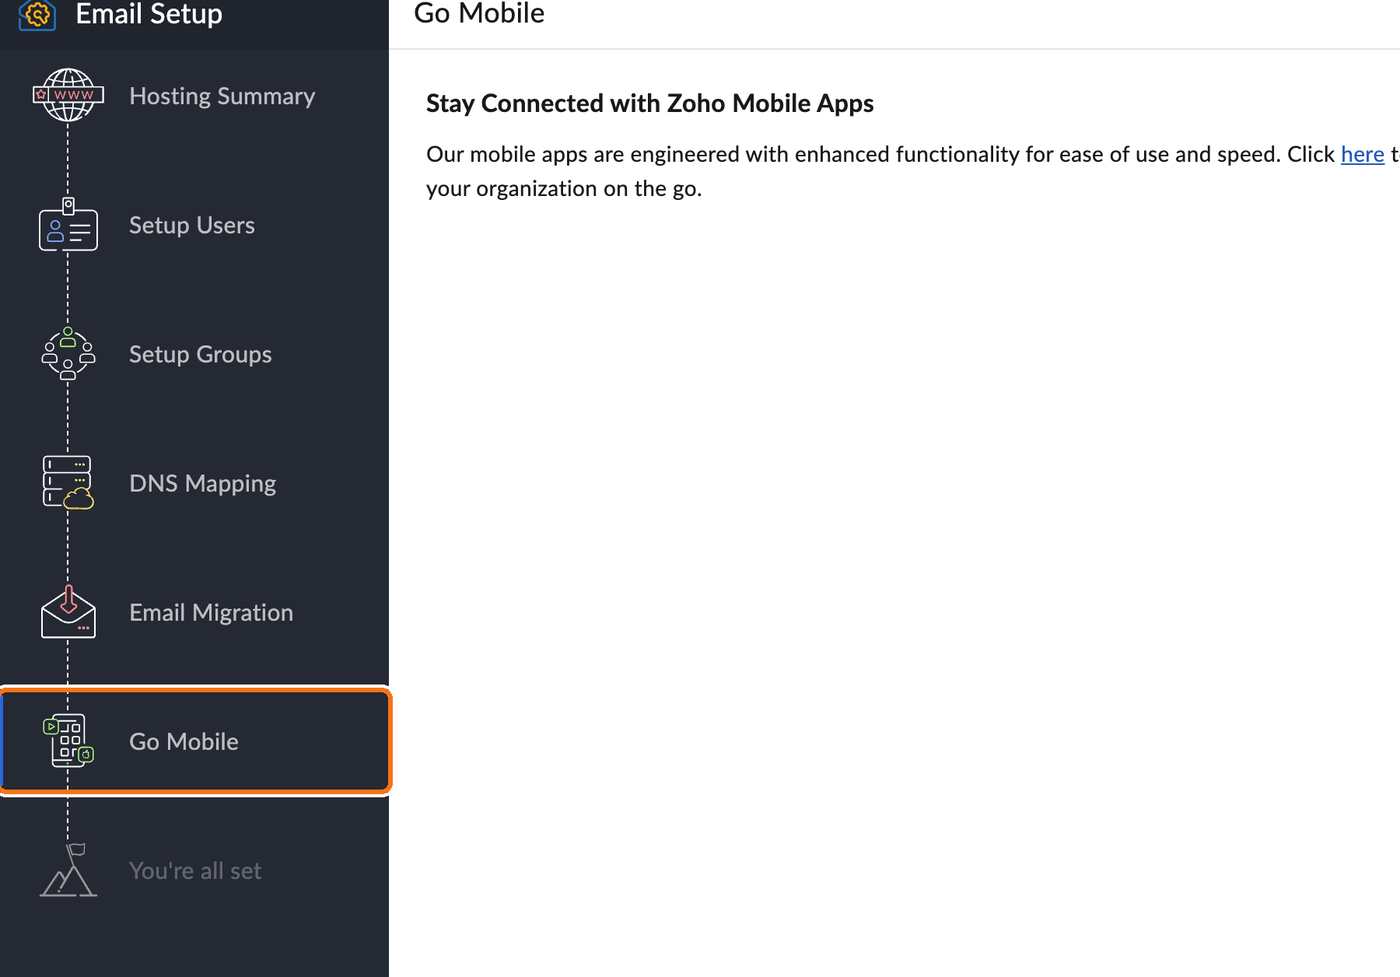
In Zoho's setup, you're now at Go Mobile. You can read your email on Zoho's website, at mail.zoho.in if your account is on Zoho's India data centre, or in the Zoho Mail app for iPhone and Android.
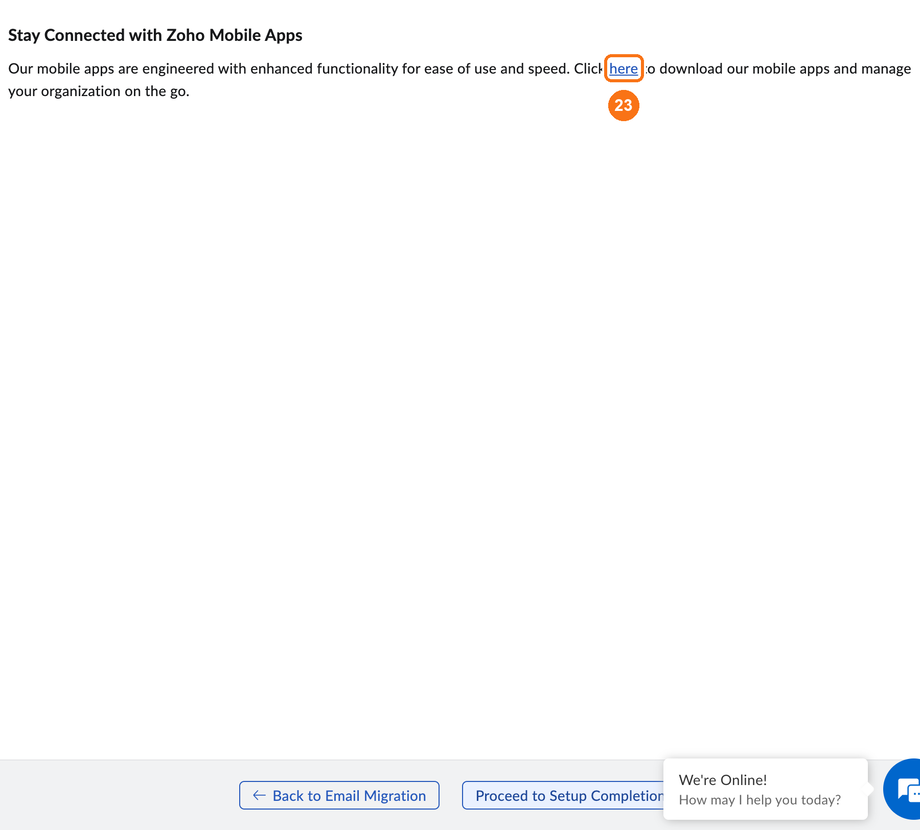
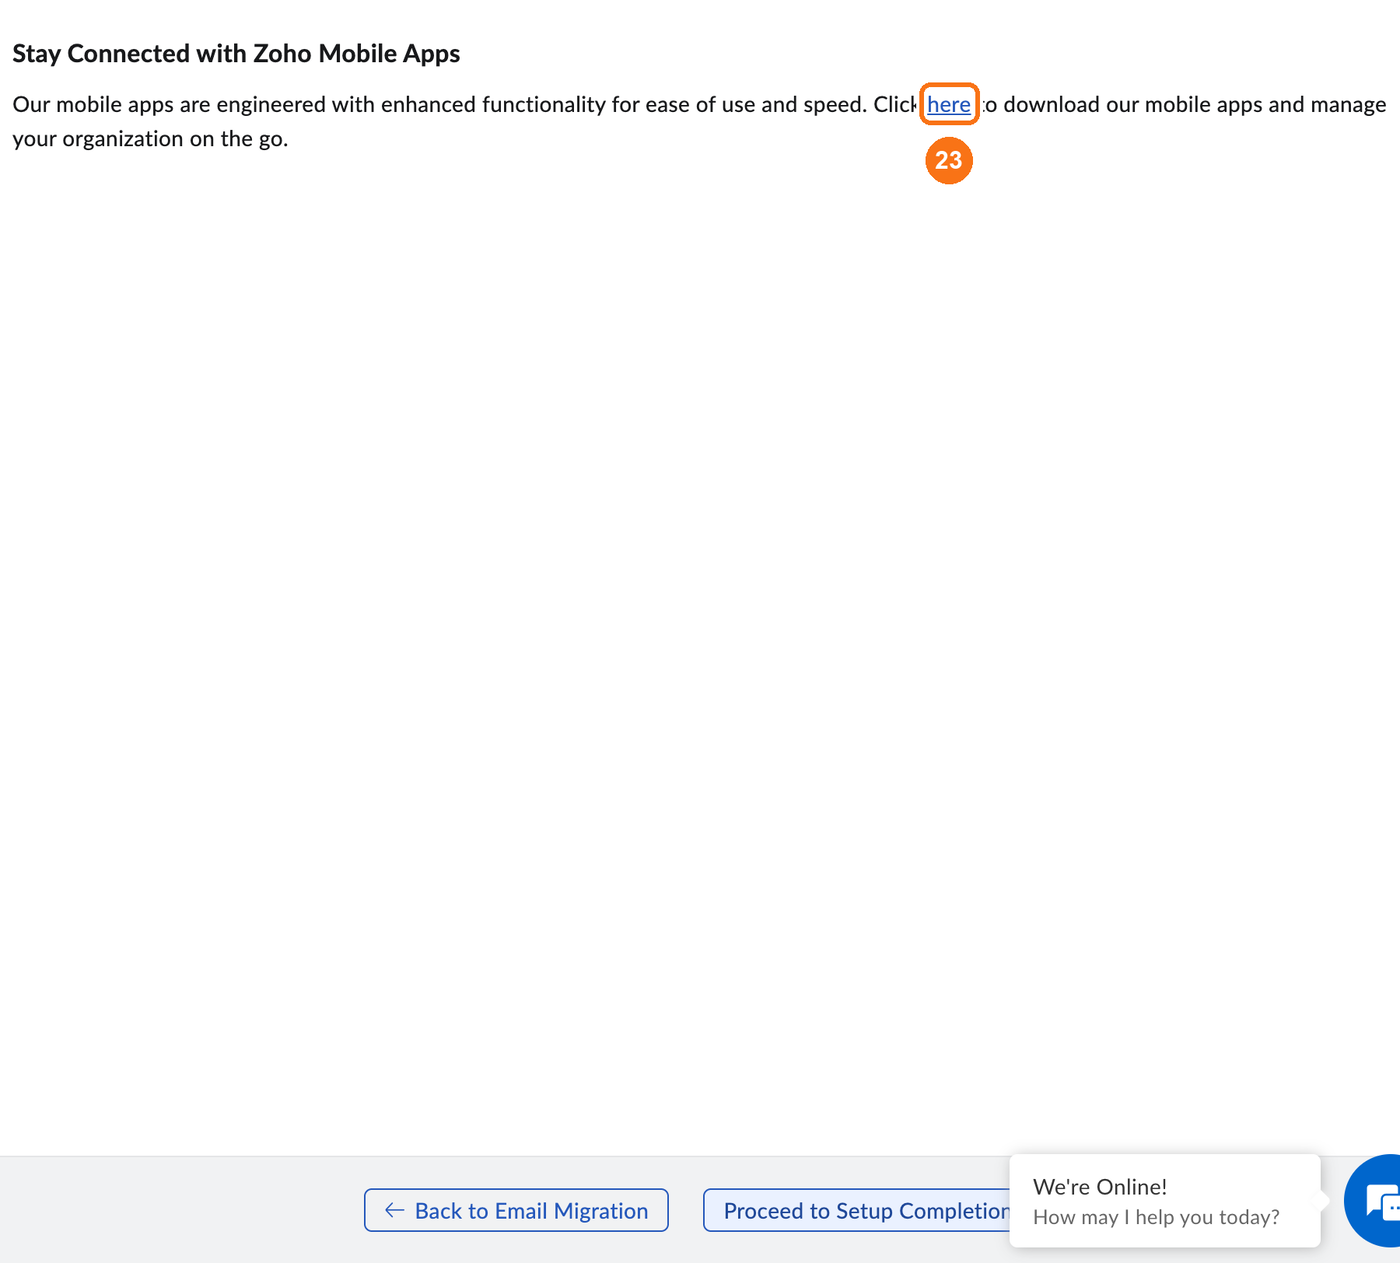
Click here to see Zoho's mobile apps, then install Zoho Mail from your phone's app store and sign in with your Zoho address.
Note: Email programs that use IMAP or POP, such as the mail app built into some phones, do not work with the free plan. Use Zoho's own app.
Next: send your website's emails through Zoho
Your website sends order confirmations, form replies and password resets. To send them from your Zoho address, follow Sending your website's emails through Zoho Mail.
Troubleshooting
I can only see paid plans. Scroll further down the pricing page. The Forever Free Plan box sits below the paid plans, the trial and the mix-and-match section.
The TXT record will not verify. Check the host is @ (or blank), the value was pasted in full, and it was added as a TXT record, not in the nameserver boxes. Wait a few minutes and try again.
I cannot find where the DKIM record goes. It is a TXT record. Copy the Host name exactly as Zoho shows it in DNS Mapping, and put the record in the same place as your other TXT records.
SPF or DKIM still shows a red mark. It can take a while. Wait, then click Verify all records again. Check there is only one SPF record.
Email is not arriving. Check that your old MX records are gone and only Zoho's three are left.