Sending your website's emails through Zoho Mail
Your website sends email: order confirmations, form replies and password resets. This guide connects it to your Zoho Mail address, so those emails come from your own domain and arrive reliably.
The numbers in the pictures match the numbered steps.
Note: You need a working Zoho Mail address on your domain first. If you don't have one yet, follow Setting up free business email on your domain with Zoho Mail.
How it works
You connect Zoho inside your website with an app password. This is a separate password just for your website, so you never use your Zoho login password there. If you ever remove the app password, only your website loses access.
Create an app password in Zoho
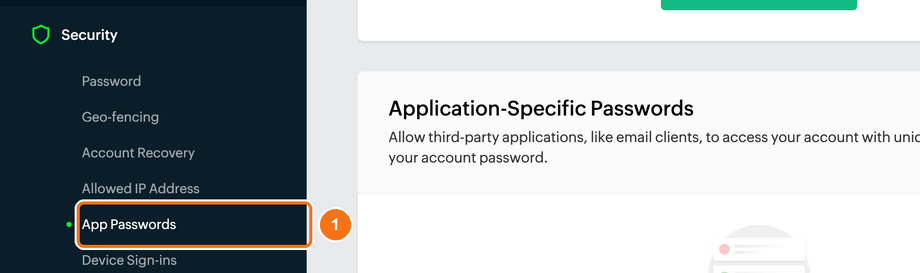
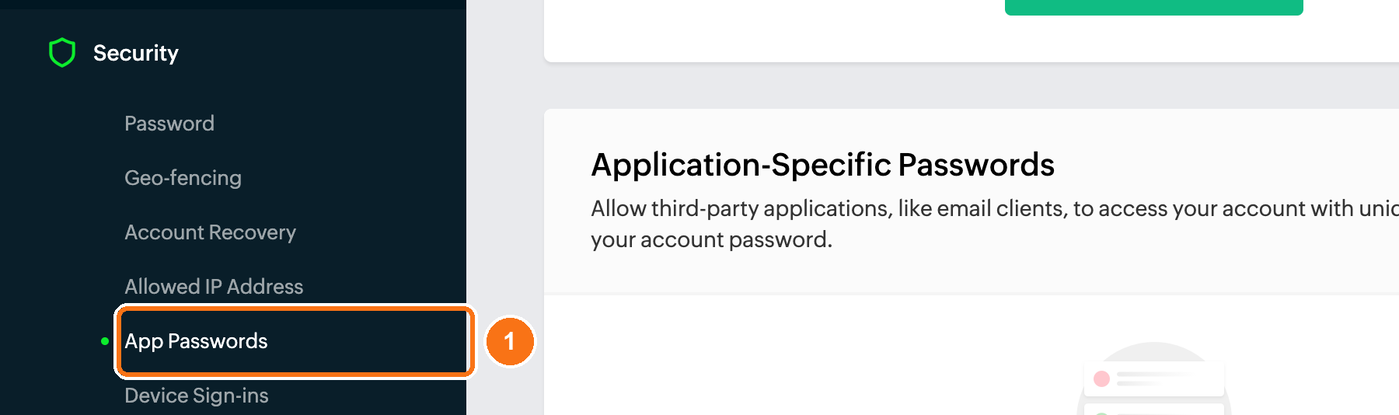
Sign in to Zoho Accounts. Under Security, click App Passwords.
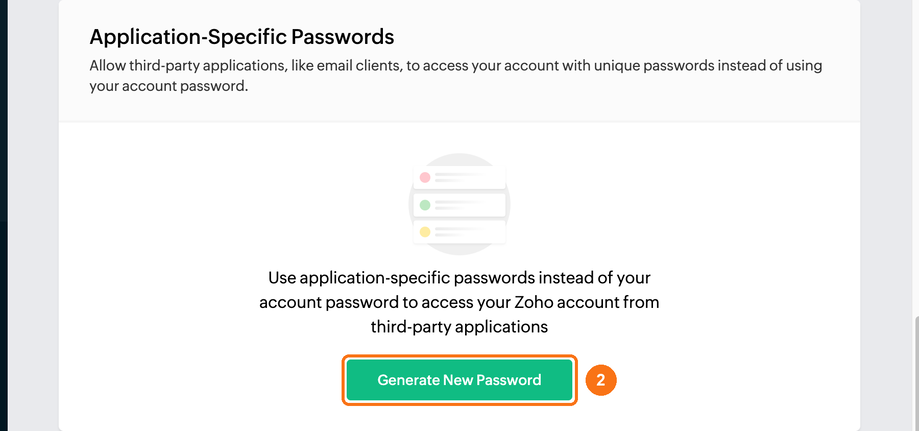
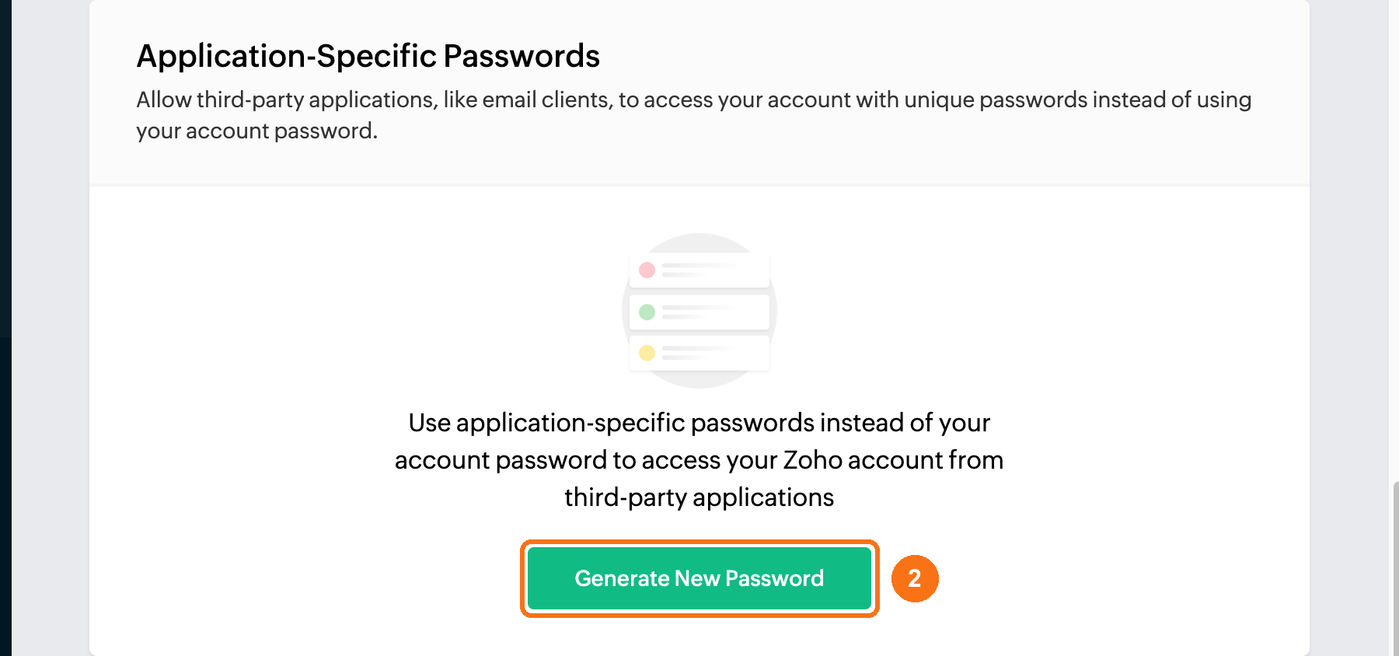
Click Generate New Password. Give it a name you will recognise, for example 1smart.link website, then generate it. Zoho shows the password once. Copy it and keep this tab open.
Connect Zoho in your website
In the 1smart.link Website tab, click Log in to WordPress.

In the WordPress menu, point to Settings and click FluentSMTP.

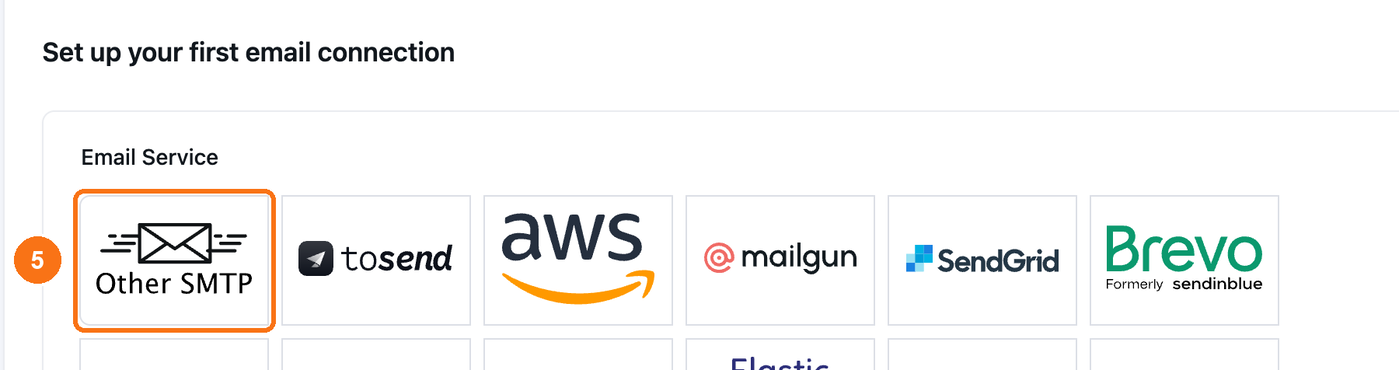
Click Other SMTP.
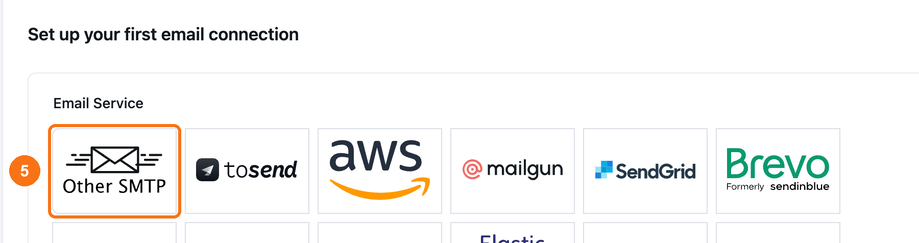
In From Email, type your Zoho address, for example info@mystore.com.

In From Name, type your business name.

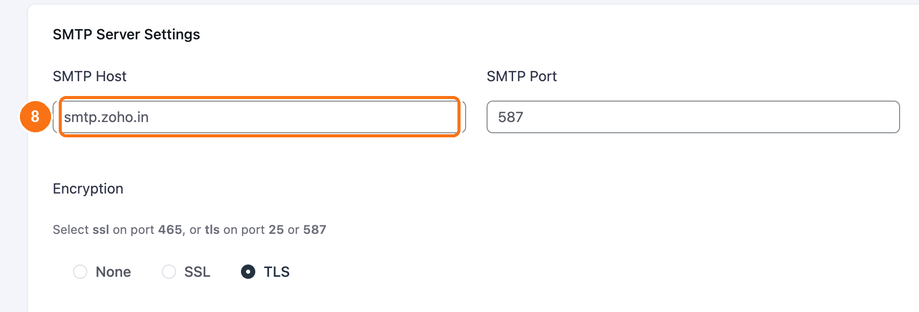
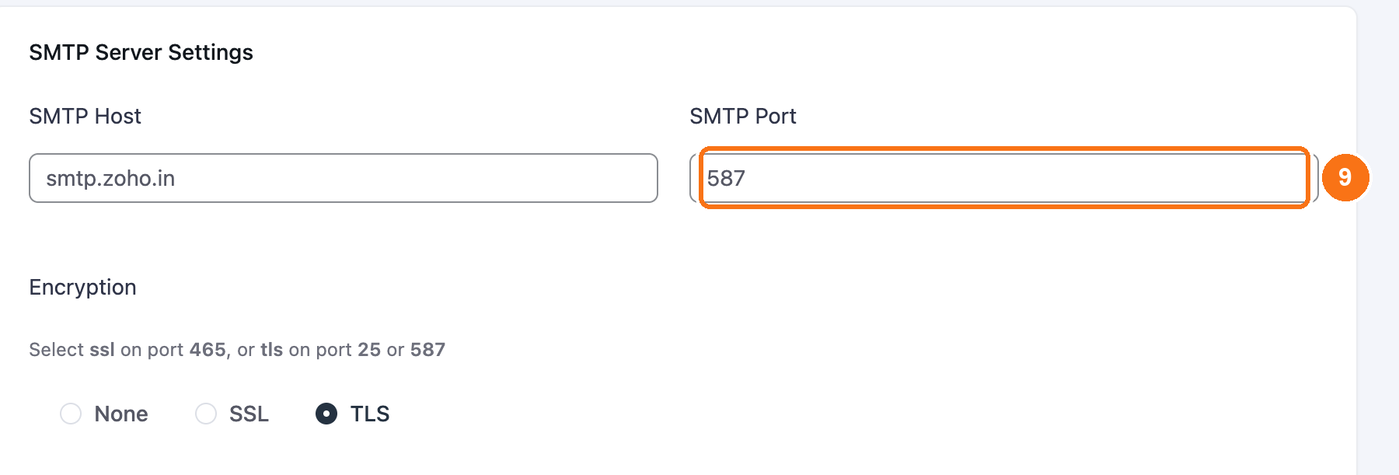
In SMTP Host, type smtp.zoho.in if your Zoho account is on Zoho's India data centre. Your mail opens at mail.zoho.in, and Zoho Accounts says "Your account is in the India data center". Otherwise type smtp.zoho.com.
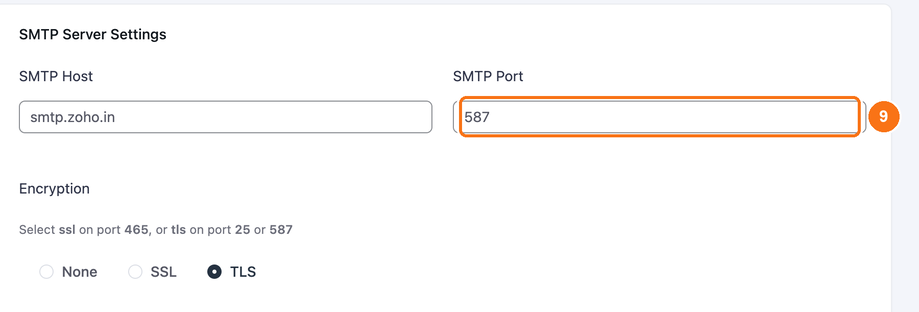
In SMTP Port, type 587.
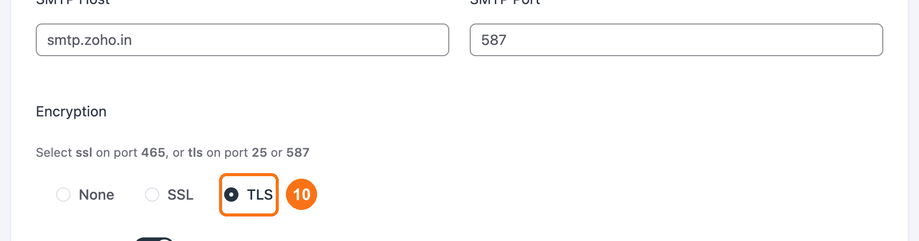
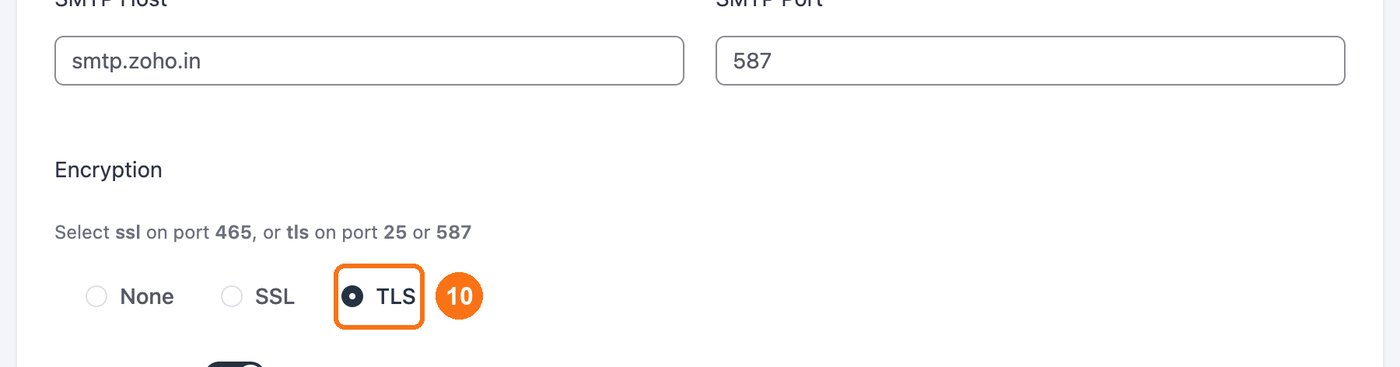
Under Encryption, choose TLS.
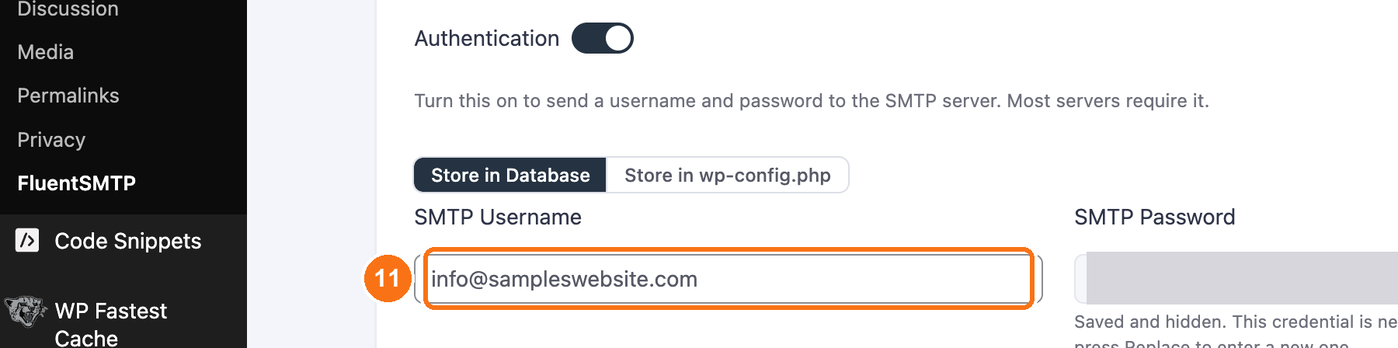
In SMTP Username, type your full Zoho address.
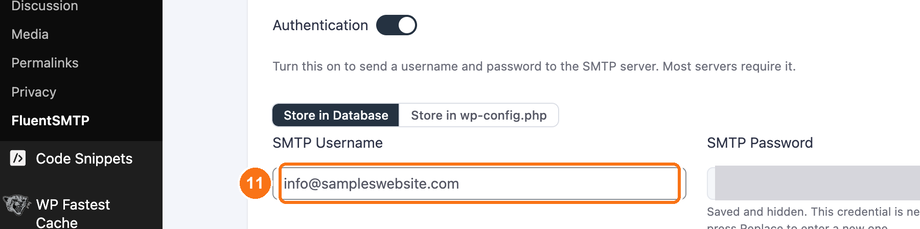
In SMTP Password, paste the app password you copied in step 2.

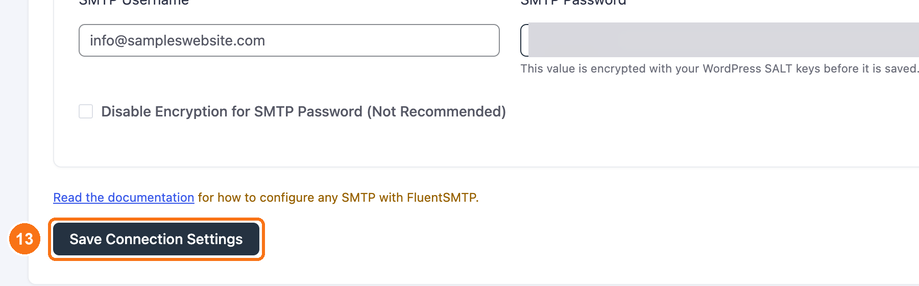
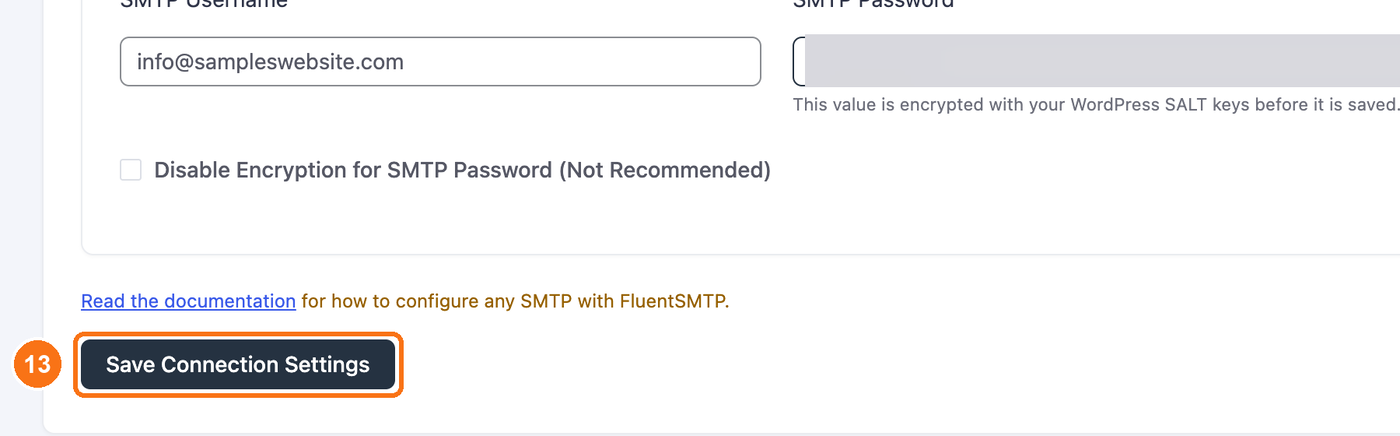
Click Save Connection Settings.




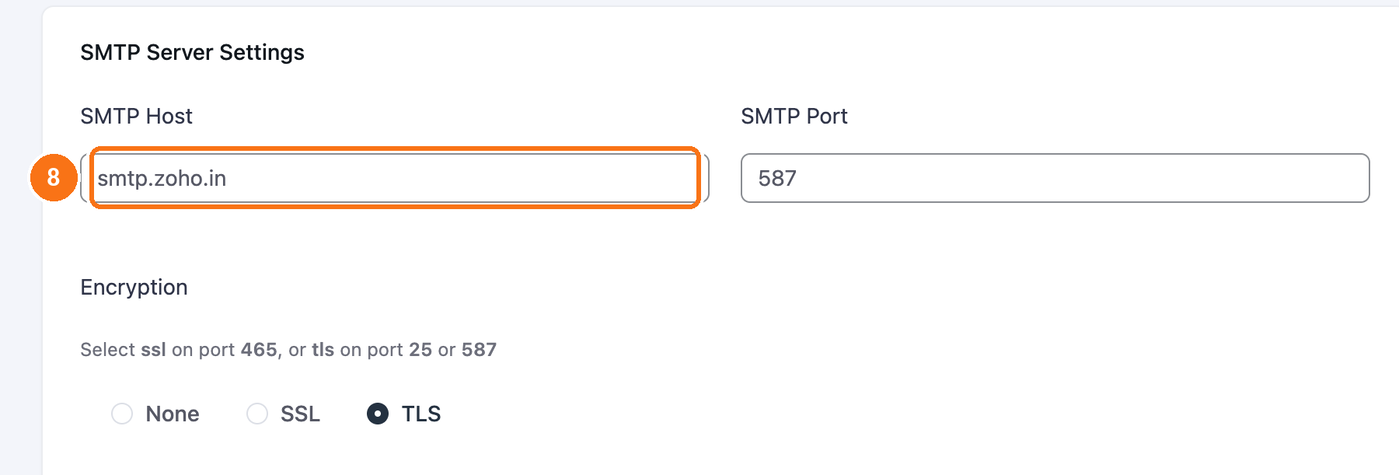

Warning: With a Zoho account on the India data centre, the host smtp.zoho.com fails with "SMTP Error: Could not authenticate." Use smtp.zoho.in.
Send a test email
Click Send Test Email at the top of the FluentSMTP page.

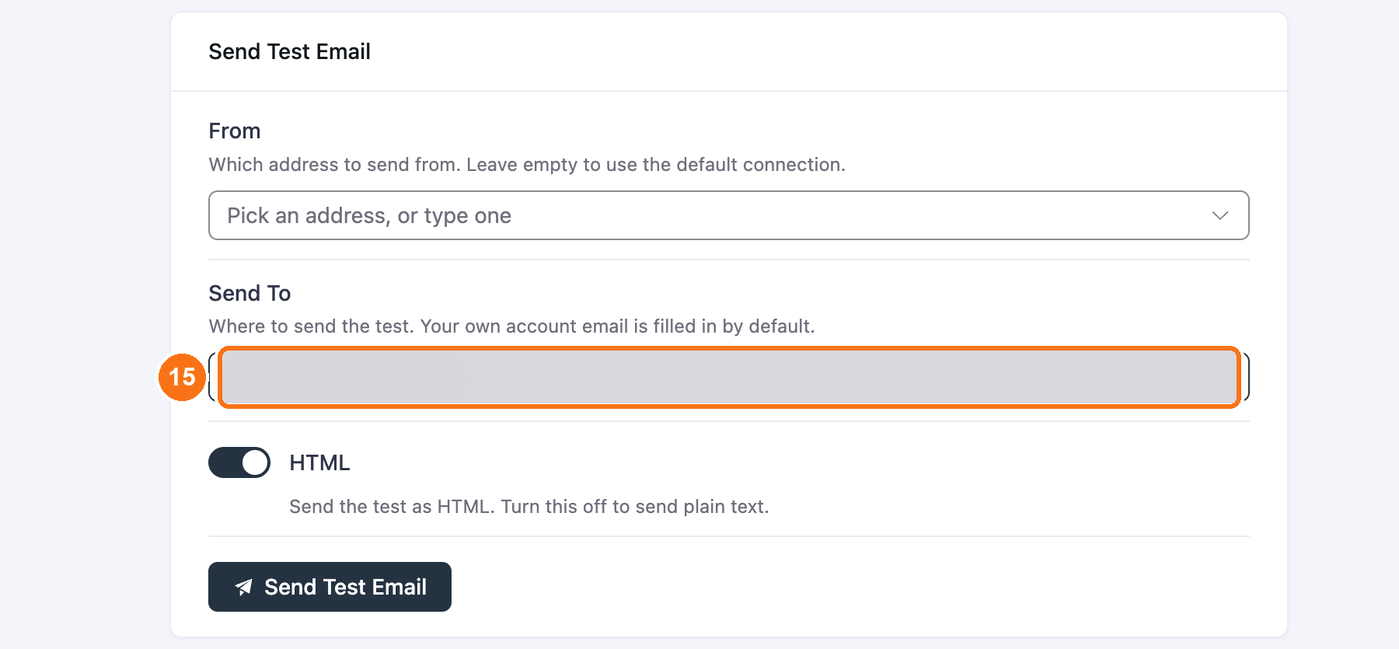
In Send To, type an address you can check straight away, ideally with a different provider.
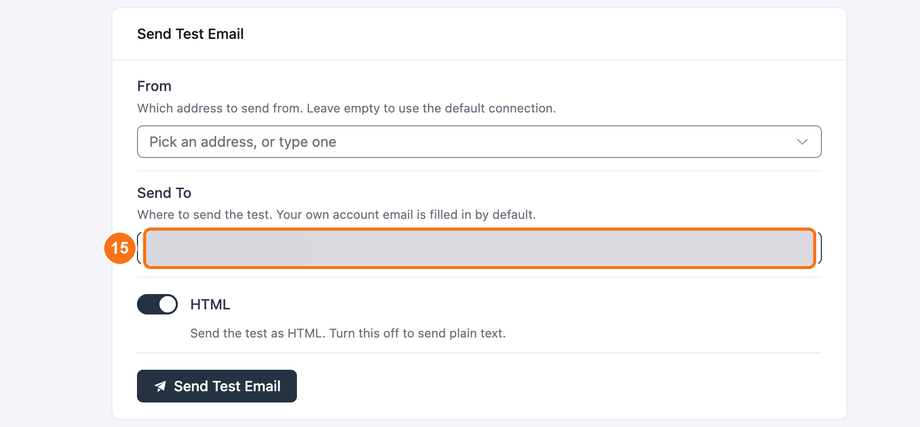
Click Send Test Email.
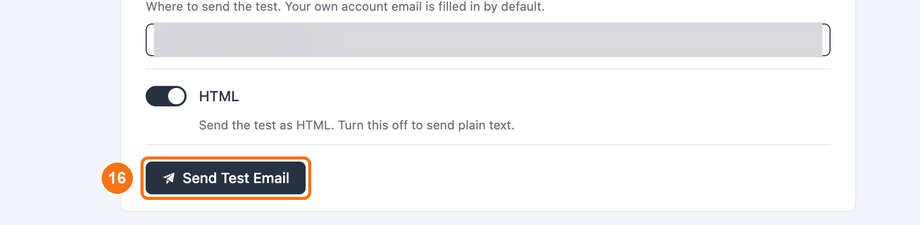

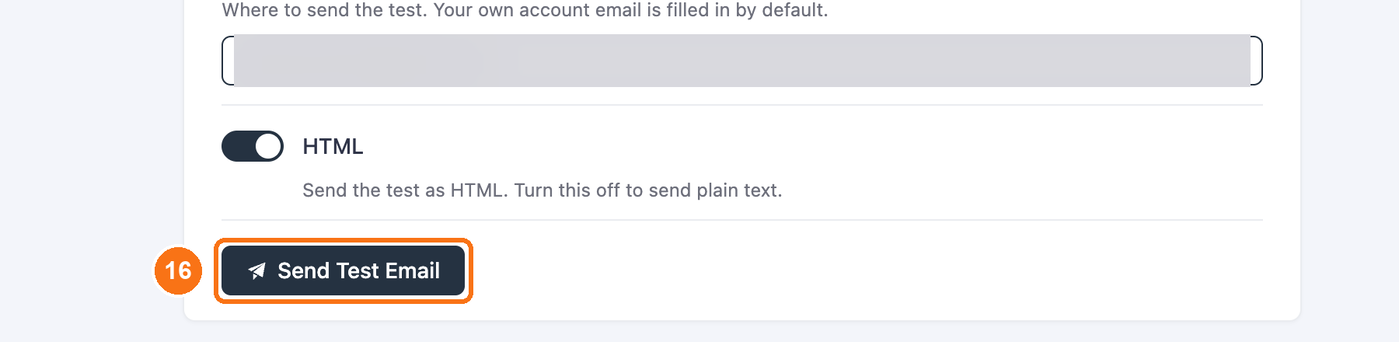
When it works, FluentSMTP shows Test email sent and how long delivery took, for example Delivered in 3.02 seconds. Check the inbox, and the spam folder too.

Removing an app password
If you stop using the connection, or think someone else has seen the password, remove the app password in Zoho. Your website can no longer send through Zoho until you create another one.
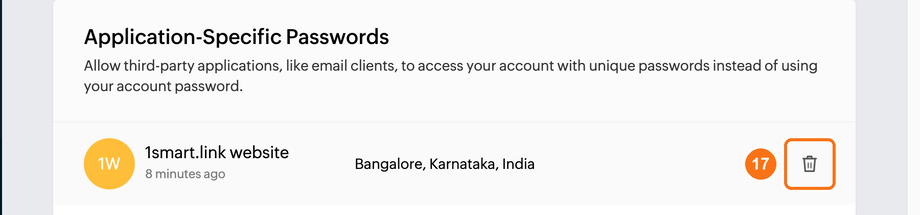
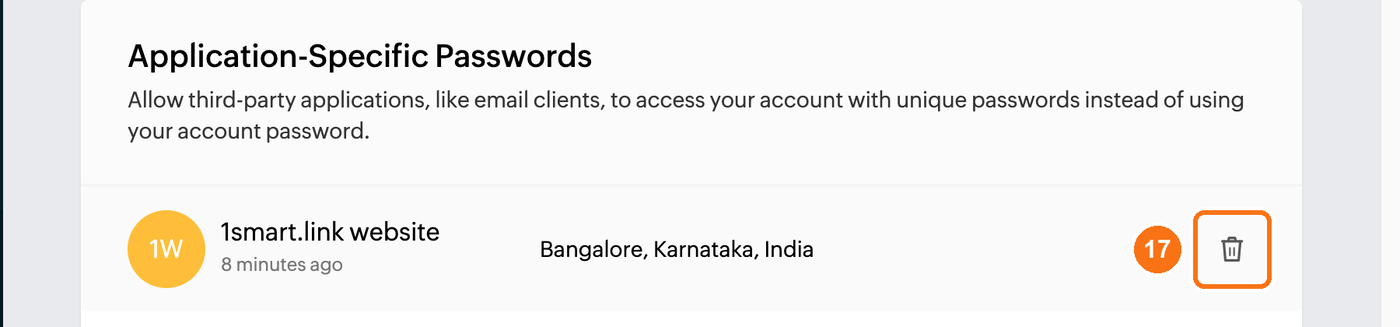
In Zoho Accounts, under App Passwords, point to the password's row and click the bin icon.
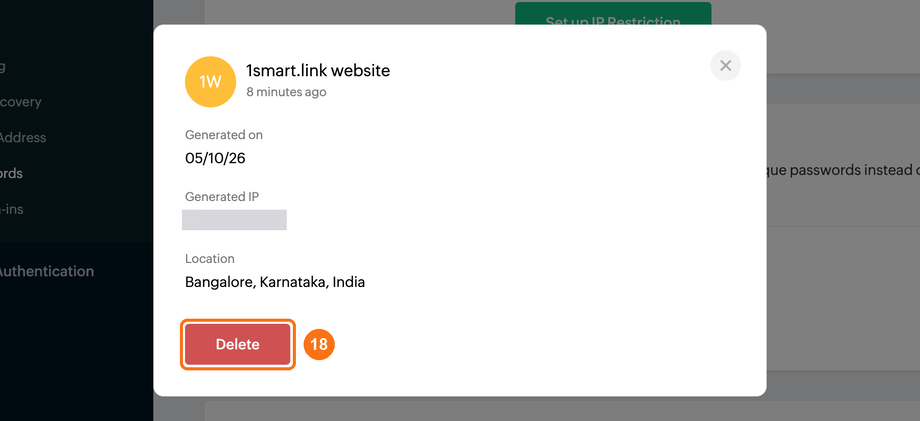
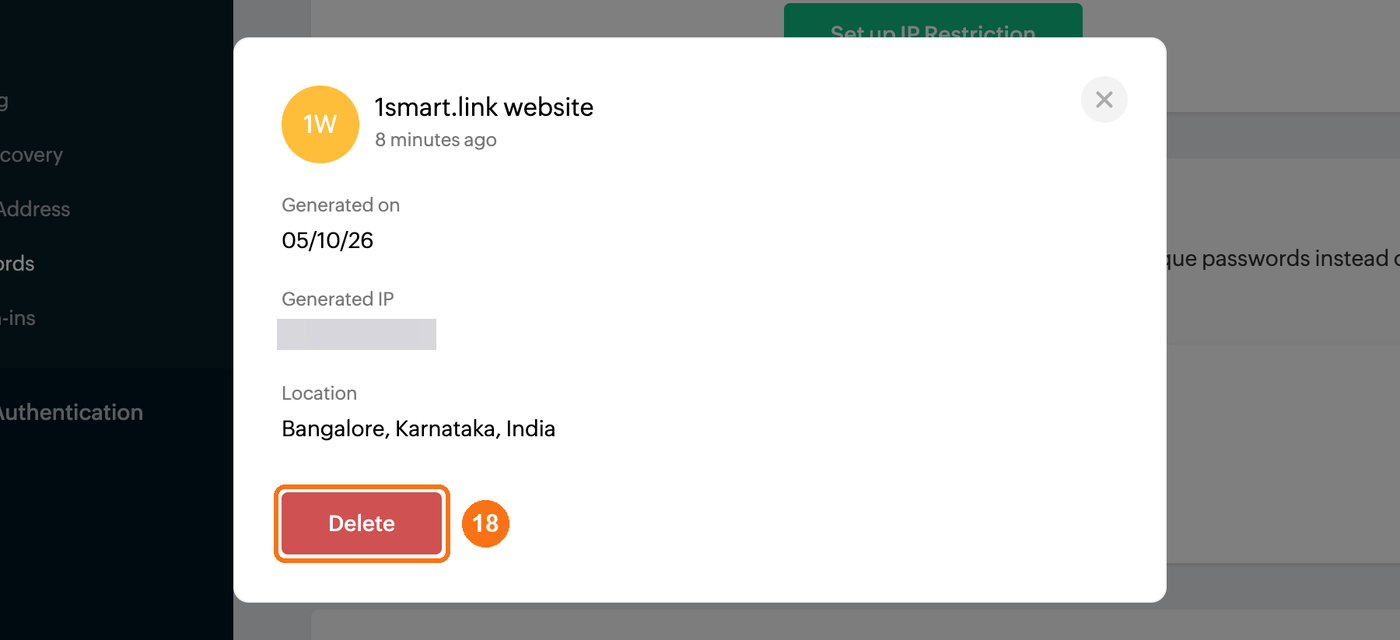
Click Delete and confirm. Zoho may ask you to verify yourself first.
Troubleshooting
The test says "Could not authenticate". Use smtp.zoho.in for an India data centre account, your full address as the username, and an app password, not your login password.
The test email does not arrive. Check the spam folder. Then check your domain's email records in Zoho's DNS Mapping all show a green tick.
WordPress says no email connection is set up. Work through steps 3 to 13, then send the test email.